

The WotNot Zapier integration is designed to send data from WotNot to Zapier. WotNot acts as the trigger source for the Zap.
You need a Zapier account to use this integration. Zapier’s own plans, task limits, and billing are managed separately from WotNot. WotNot’s Zapier integration is available on the All plans.
What you can do
Use the Zapier action block to send chatbot data to a Zap whenever the conversation reaches that block.When to use Zapier
Zapier is often the fastest no-code option because it connects WotNot to a large ecosystem of apps. The trade-off is that your workflow depends on another service, may introduce processing delay, and is subject to Zapier’s task limits and pricing.
If you need direct API control, use the HTTP request action block instead. WotNot’s HTTP request block lets you call a third-party REST API directly and configure the request yourself.
Before you start
Make sure you have:- A Zapier account.
- The destination app connected or available in your Zapier account.
- A WotNot chatbot with the variables you want to send to Zapier.
- Access to the Zapier action block in your chatbot flow.
Connecting Zapier
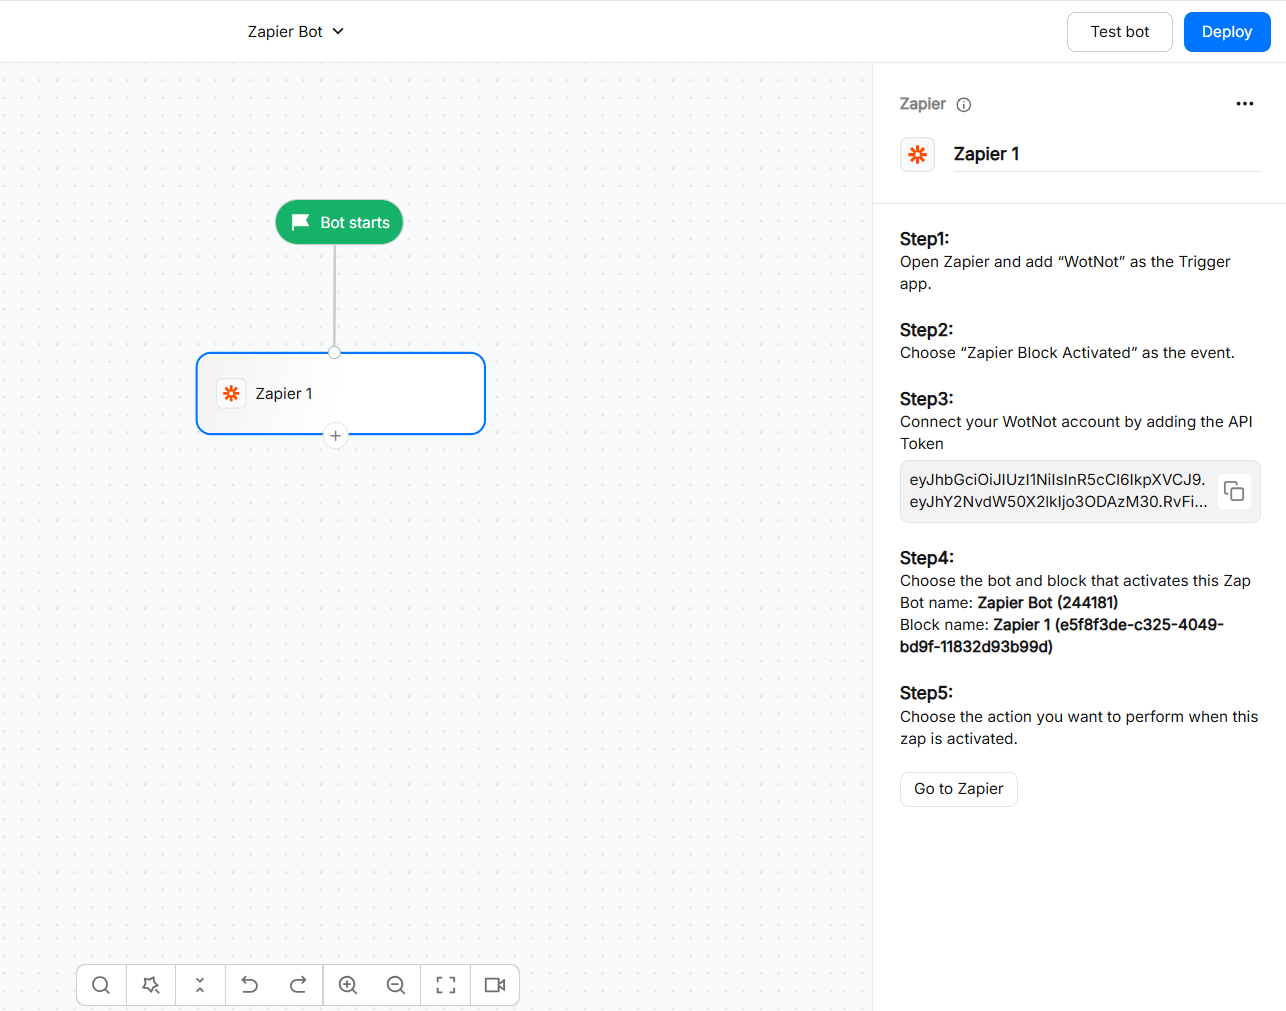
The WotNot-Zapier connection uses a token generated by the Zapier action block. You add this token when configuring WotNot as the trigger in Zapier.1
Add the ‘Zapier’ action block in the flow by clicking on ‘+’
Add the Zapier action block on the chatbot flow.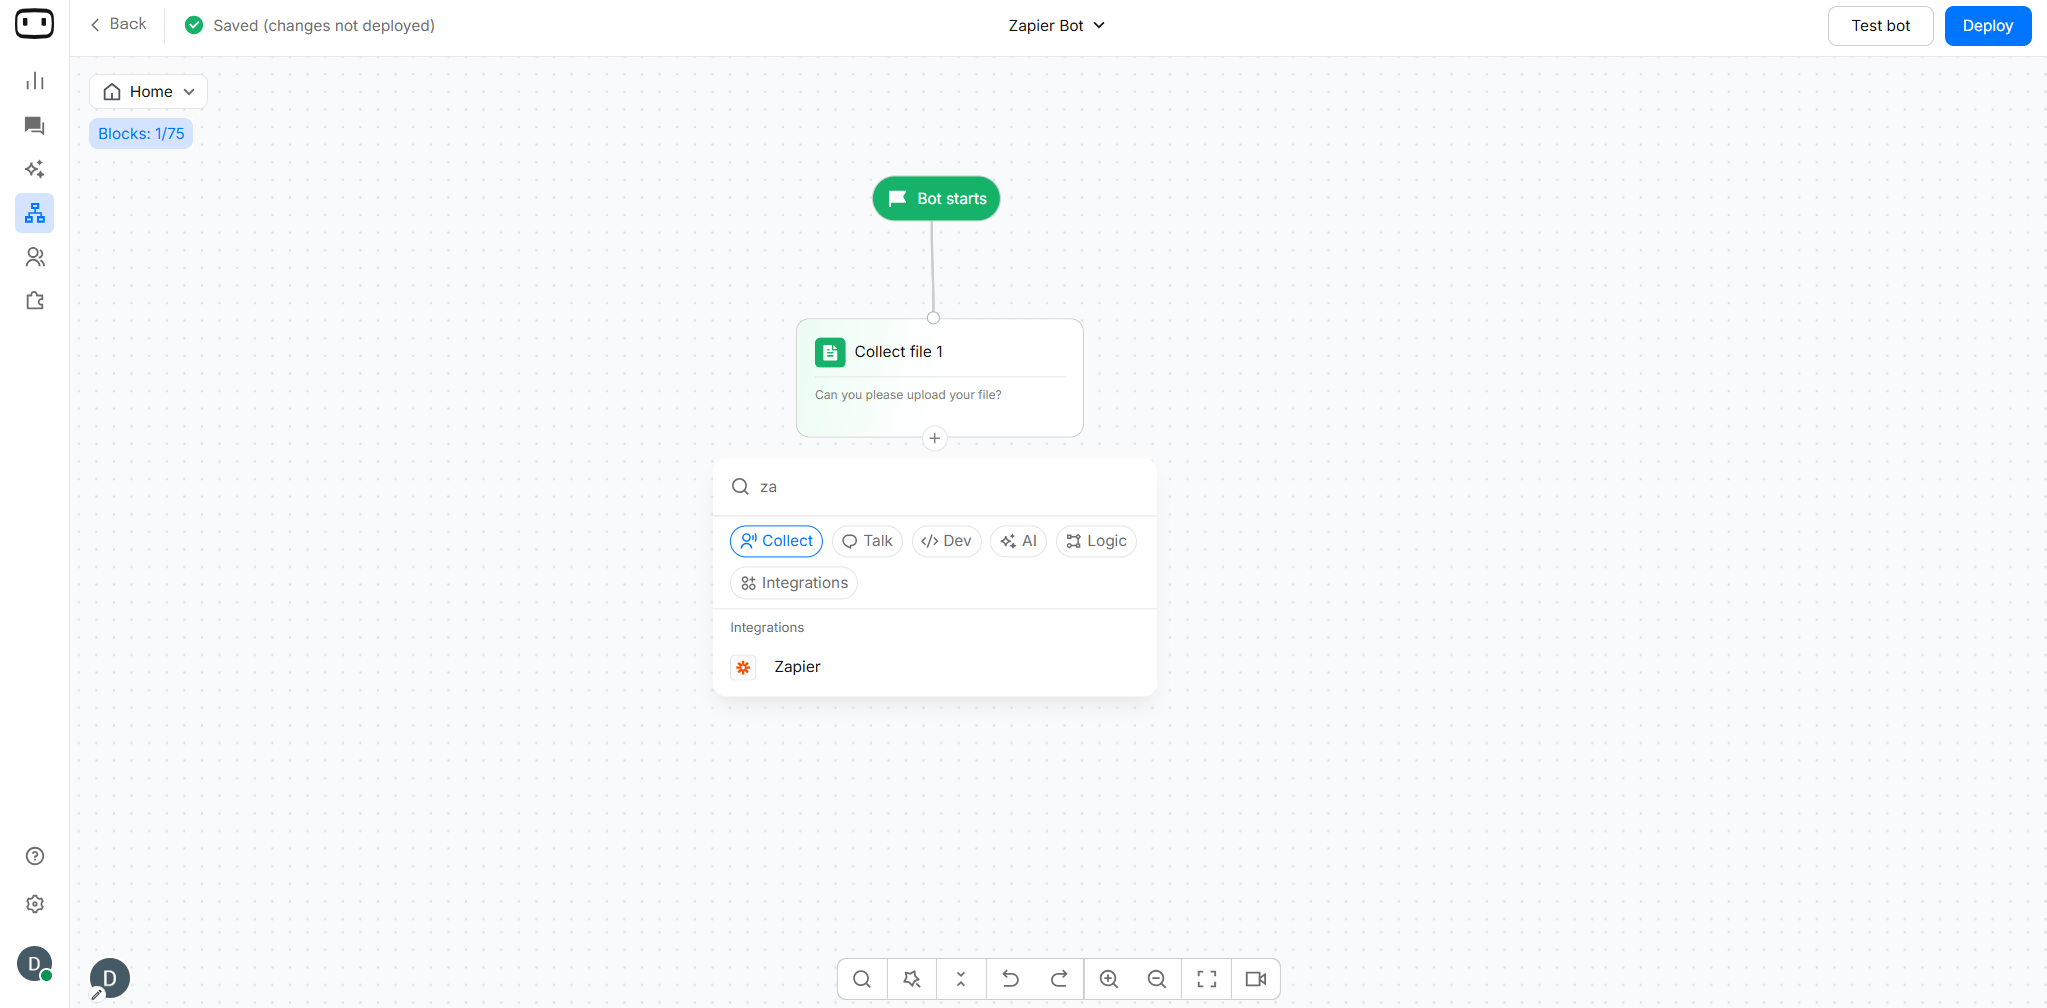
Keep in mind the Zapier integration will be triggered when the flow reaches this action block.
2
Create a Zap on Zapier
Next, go to your Zapier account and create a Zap.**Step1:**Open Zapier and add “WotNot” as the Trigger app.**Step2: **Choose “Zapier Block Activated” as the event.**Step3: **Connect your WotNot account by adding the API Token**Step4: **Choose the bot and block that activates this ZapBot name: i.e. Zapier Bot (bot id)Block name: i.e. Zapier 2**Step5: **Choose the action you want to perform when this zap is activated.
3
Test your zap
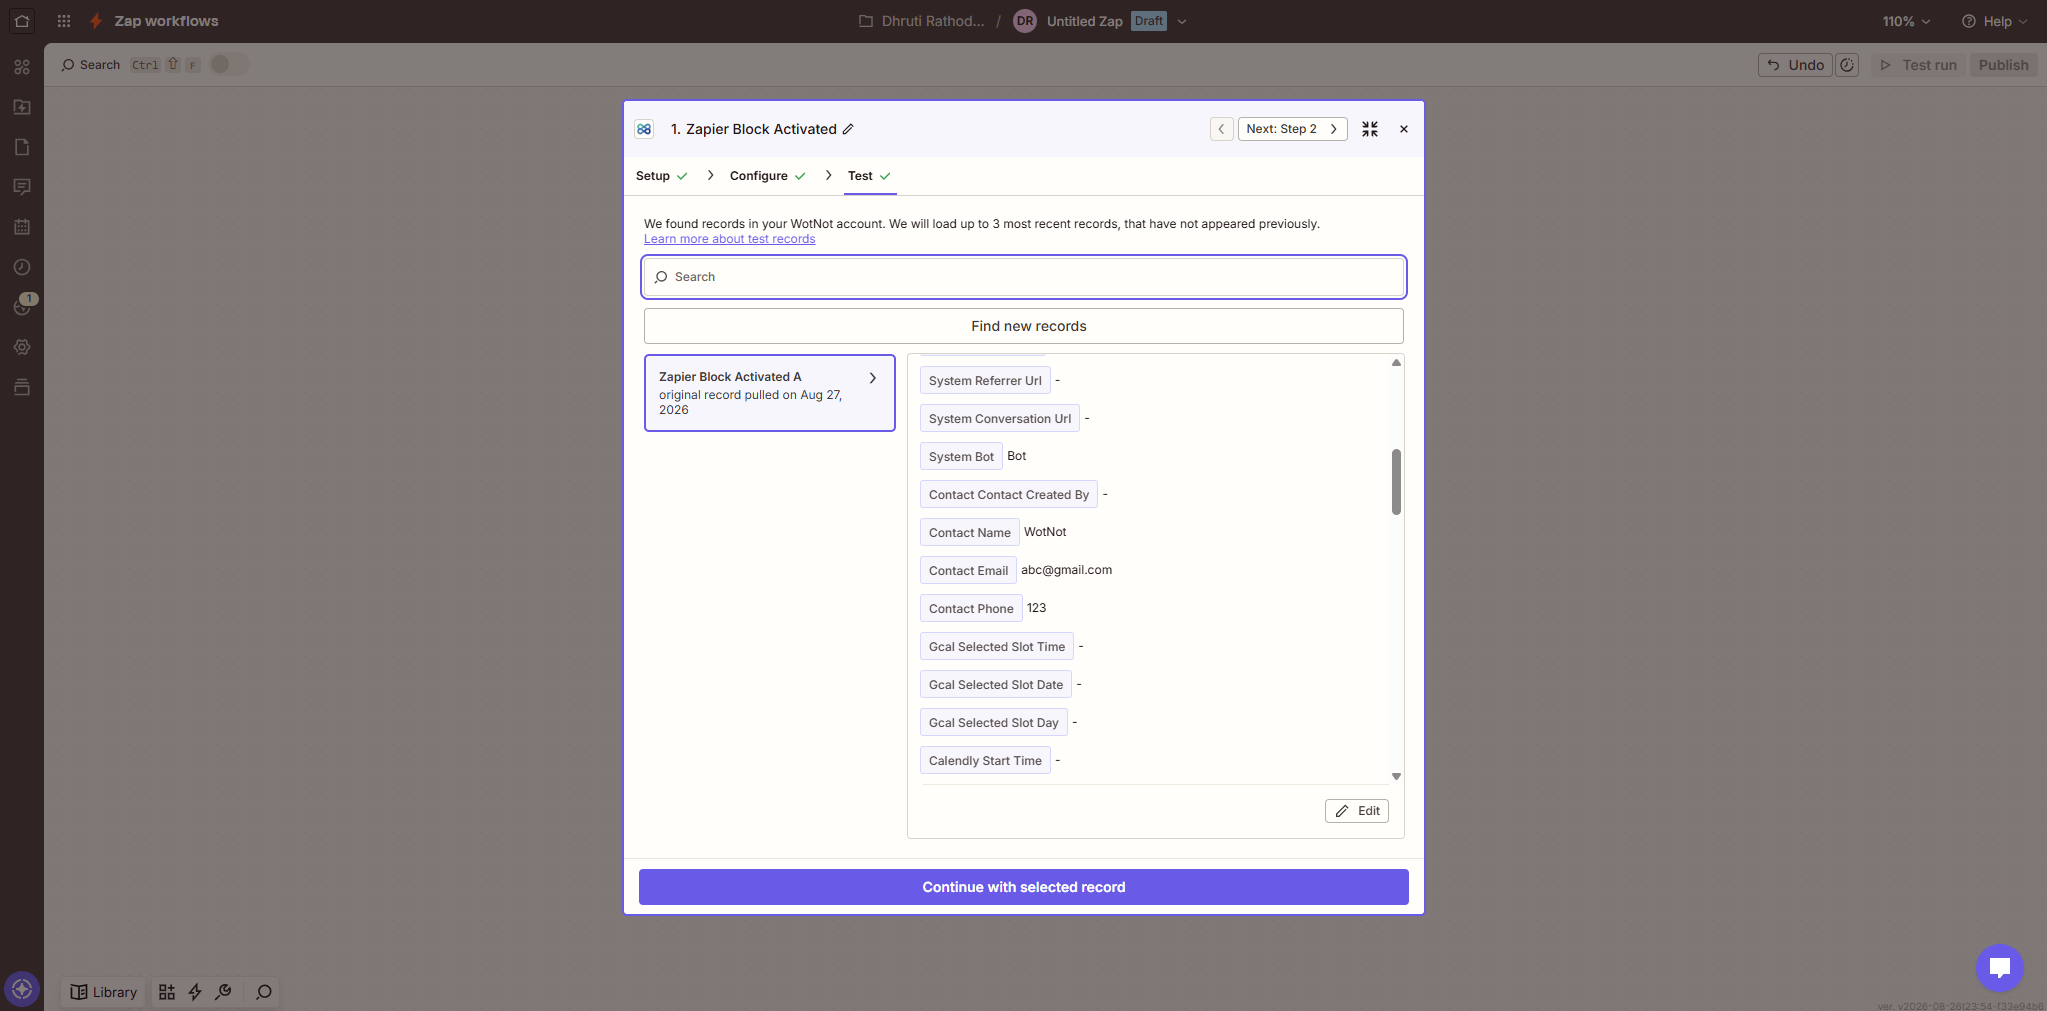
Once you have added the above information, click ‘Test Action’ to test the connection with WotNot.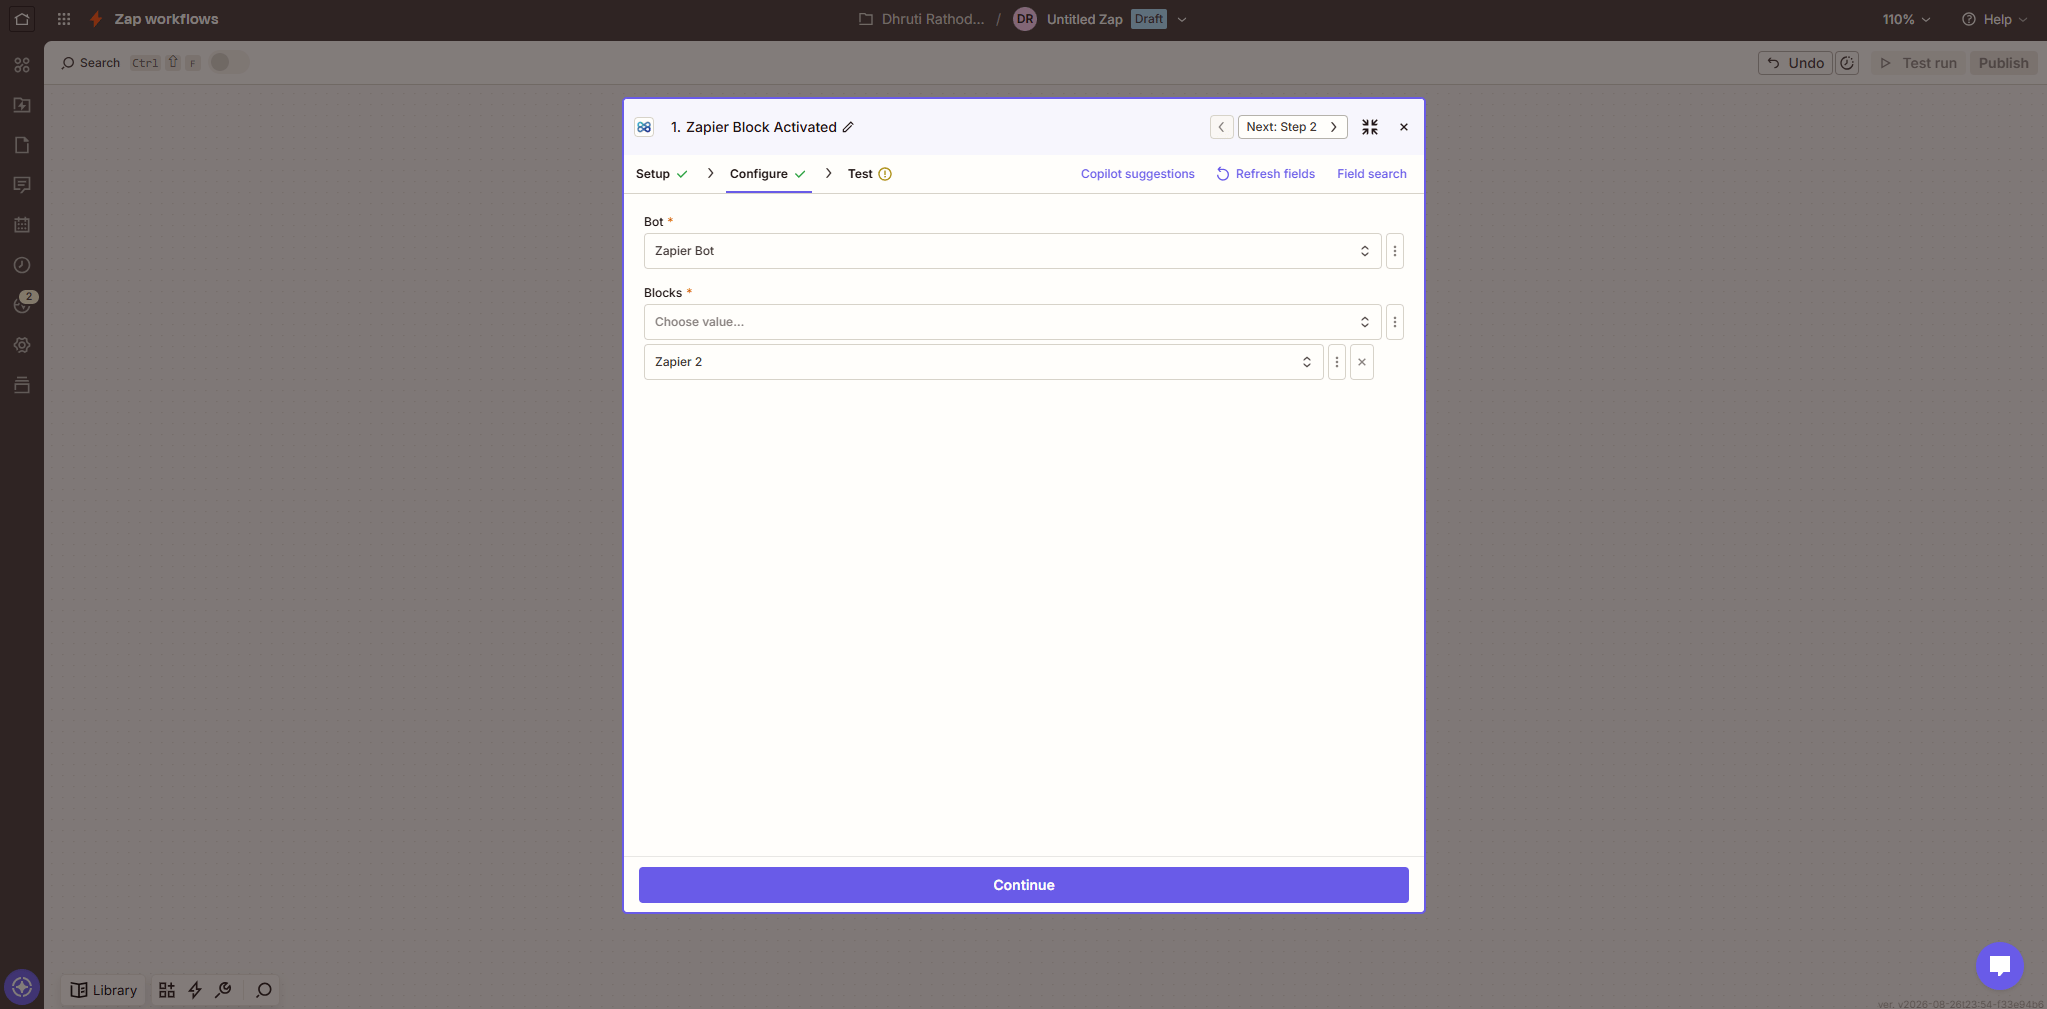
4
Create your action with the destination app
Now, configure the action that you want to perform when this zap is triggered. It could be to create a lead on a CRM, send data to Google Sheets, etc.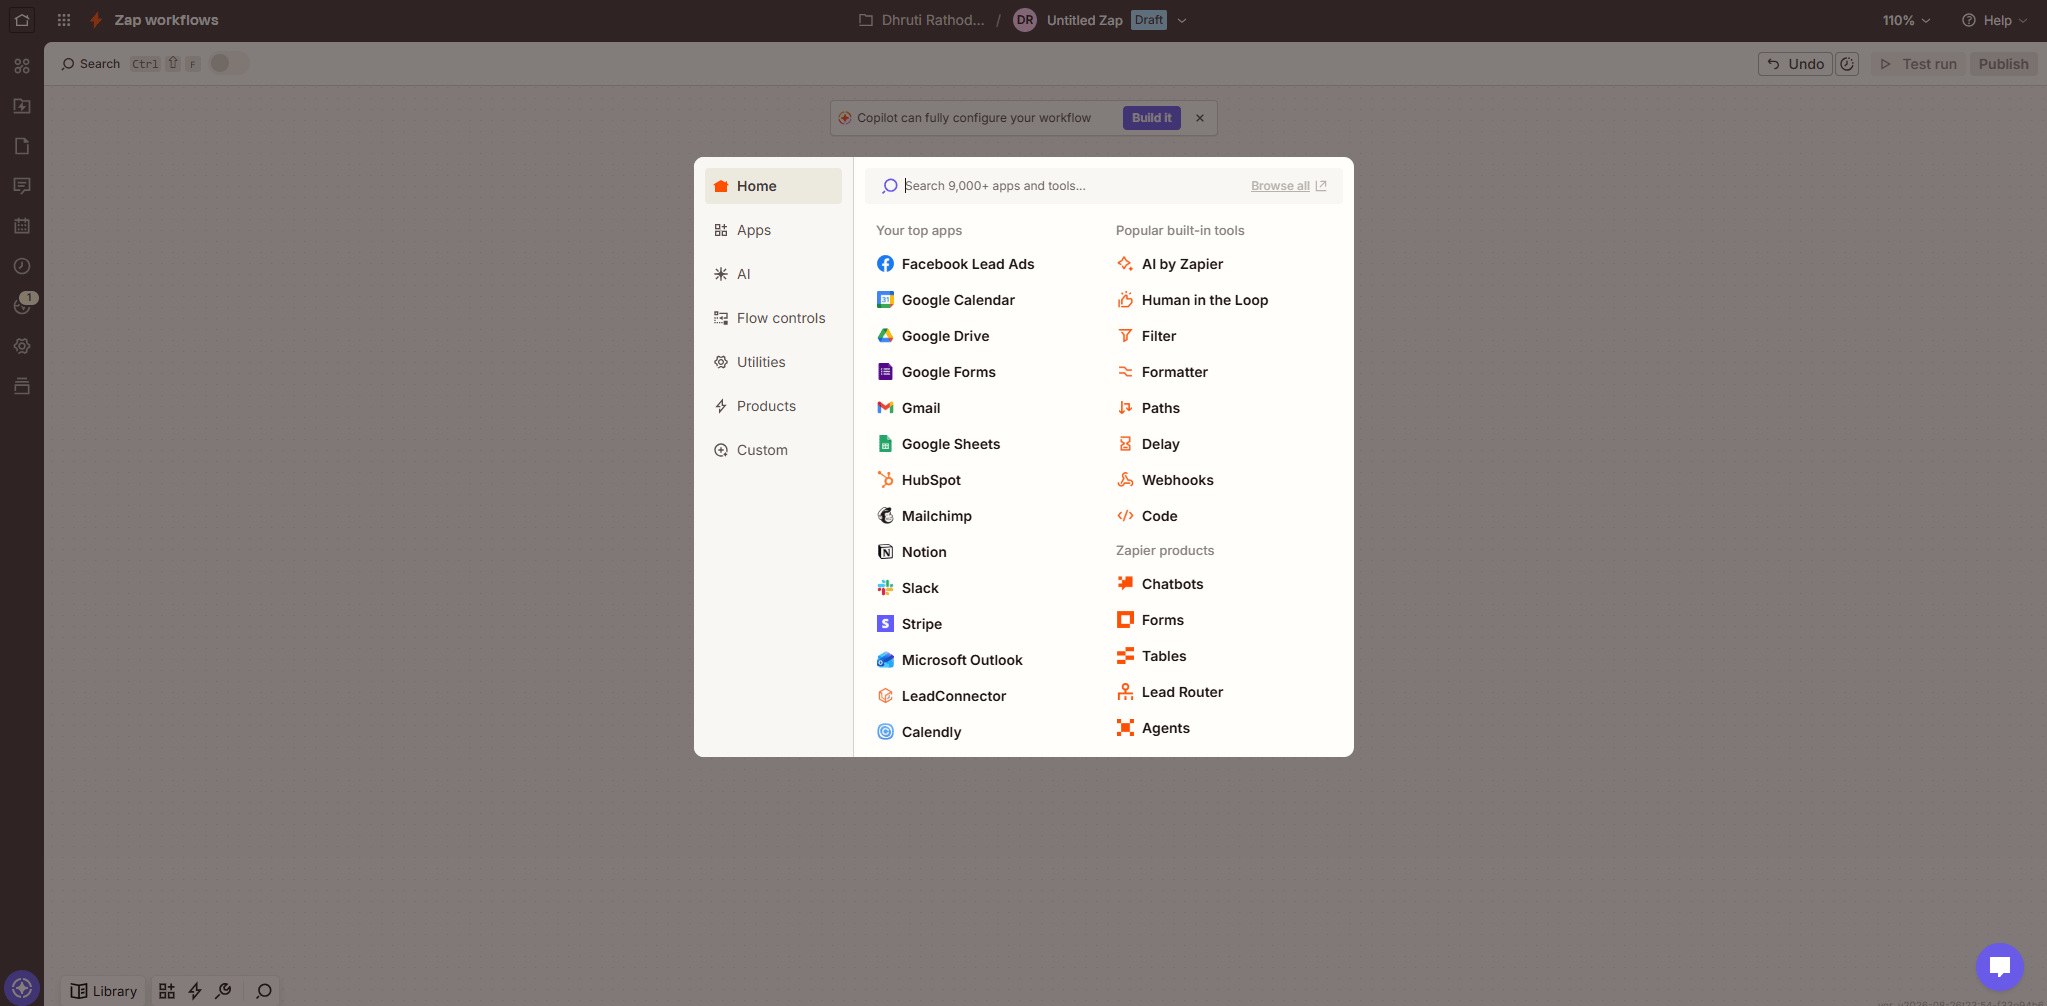
5
Publish the zap and go live
Click on ‘Publish’ to publish the Zap and go live
Sending data to a Zap
WotNot sends the chatbot variables available at the Zapier action block to Zapier. To send the data:- Create the variables you want to use in the chatbot.
- Collect or set their values before the Zapier action block is reached.
- Add the Zapier action block after the required data has been collected.
- Configure the Zapier trigger using the WotNot token, bot, and block.
- Test the trigger in Zapier.
nameemailphonecountry
Configuring the Zap
After WotNot successfully triggers the Zap:- Test the WotNot trigger and verify that the expected chatbot variables are returned.
- Select the destination app in Zapier.
- Map the WotNot values to the fields required by the destination app.
- Test the destination action.
- Publish the Zap when the workflow works as expected.
Troubleshooting
My Zap is not triggering
My Zap is not triggering
Make sure the chatbot flow reaches the Zapier action block during the conversation.Also check that:
- The correct WotNot bot is selected in Zapier.
- The correct Zapier action block is configured as the trigger.
- The WotNot connection is active.
- The Zap is turned on in Zapier.
The Zap triggers, but the fields are empty
The Zap triggers, but the fields are empty
Make sure the variables you want to send are populated before the Zapier action block is reached.Run the trigger test again in Zapier and verify that the expected WotNot variables are available.
I've exhausted my Zapier task limit
I've exhausted my Zapier task limit
Zapier manages task usage and limits separately from WotNot. Check your Zapier account to review your task usage and plan limits.If your task limit has been reached, the Zap may stop processing new tasks until the limit resets or your Zapier plan is changed.
There is a delay between the conversation and the Zap running
There is a delay between the conversation and the Zap running
WotNot triggers the Zap when the conversation reaches the Zapier action block. Processing after that point is handled by Zapier.If the trigger is received but the Zap takes time to run, check the Zap’s task history in Zapier.
My Zap was turned off
My Zap was turned off
Check whether the Zap is still enabled in Zapier.If it was turned off, review the Zap’s task history and any errors reported by Zapier before turning it back on.
My authentication has expired
My authentication has expired
Reconnect the WotNot account in Zapier using the credentials or token configured for the WotNot trigger.After reconnecting, test the trigger again to confirm that Zapier can receive data from WotNot.