Step 1: Build your AI Agent
Start by creating a bot and adding an “AI Agent” block to your conversation flow.Create a bot
- Go to Bot Builder
- Click Build a Bot.
- Select Inbound Bot.
- Select the channel where you want to use your AI Agent.
- Create your bot.
Add the AI Agent block
The AI Agent block allows your bot to understand user messages and generate responses based on your instructions and knowledge base.- Open your bot in Bot Builder.
- Click Add Block.
- Select AI Agent.
- Add the AI Agent block to your bot flow.
- Open the block to configure your agent.
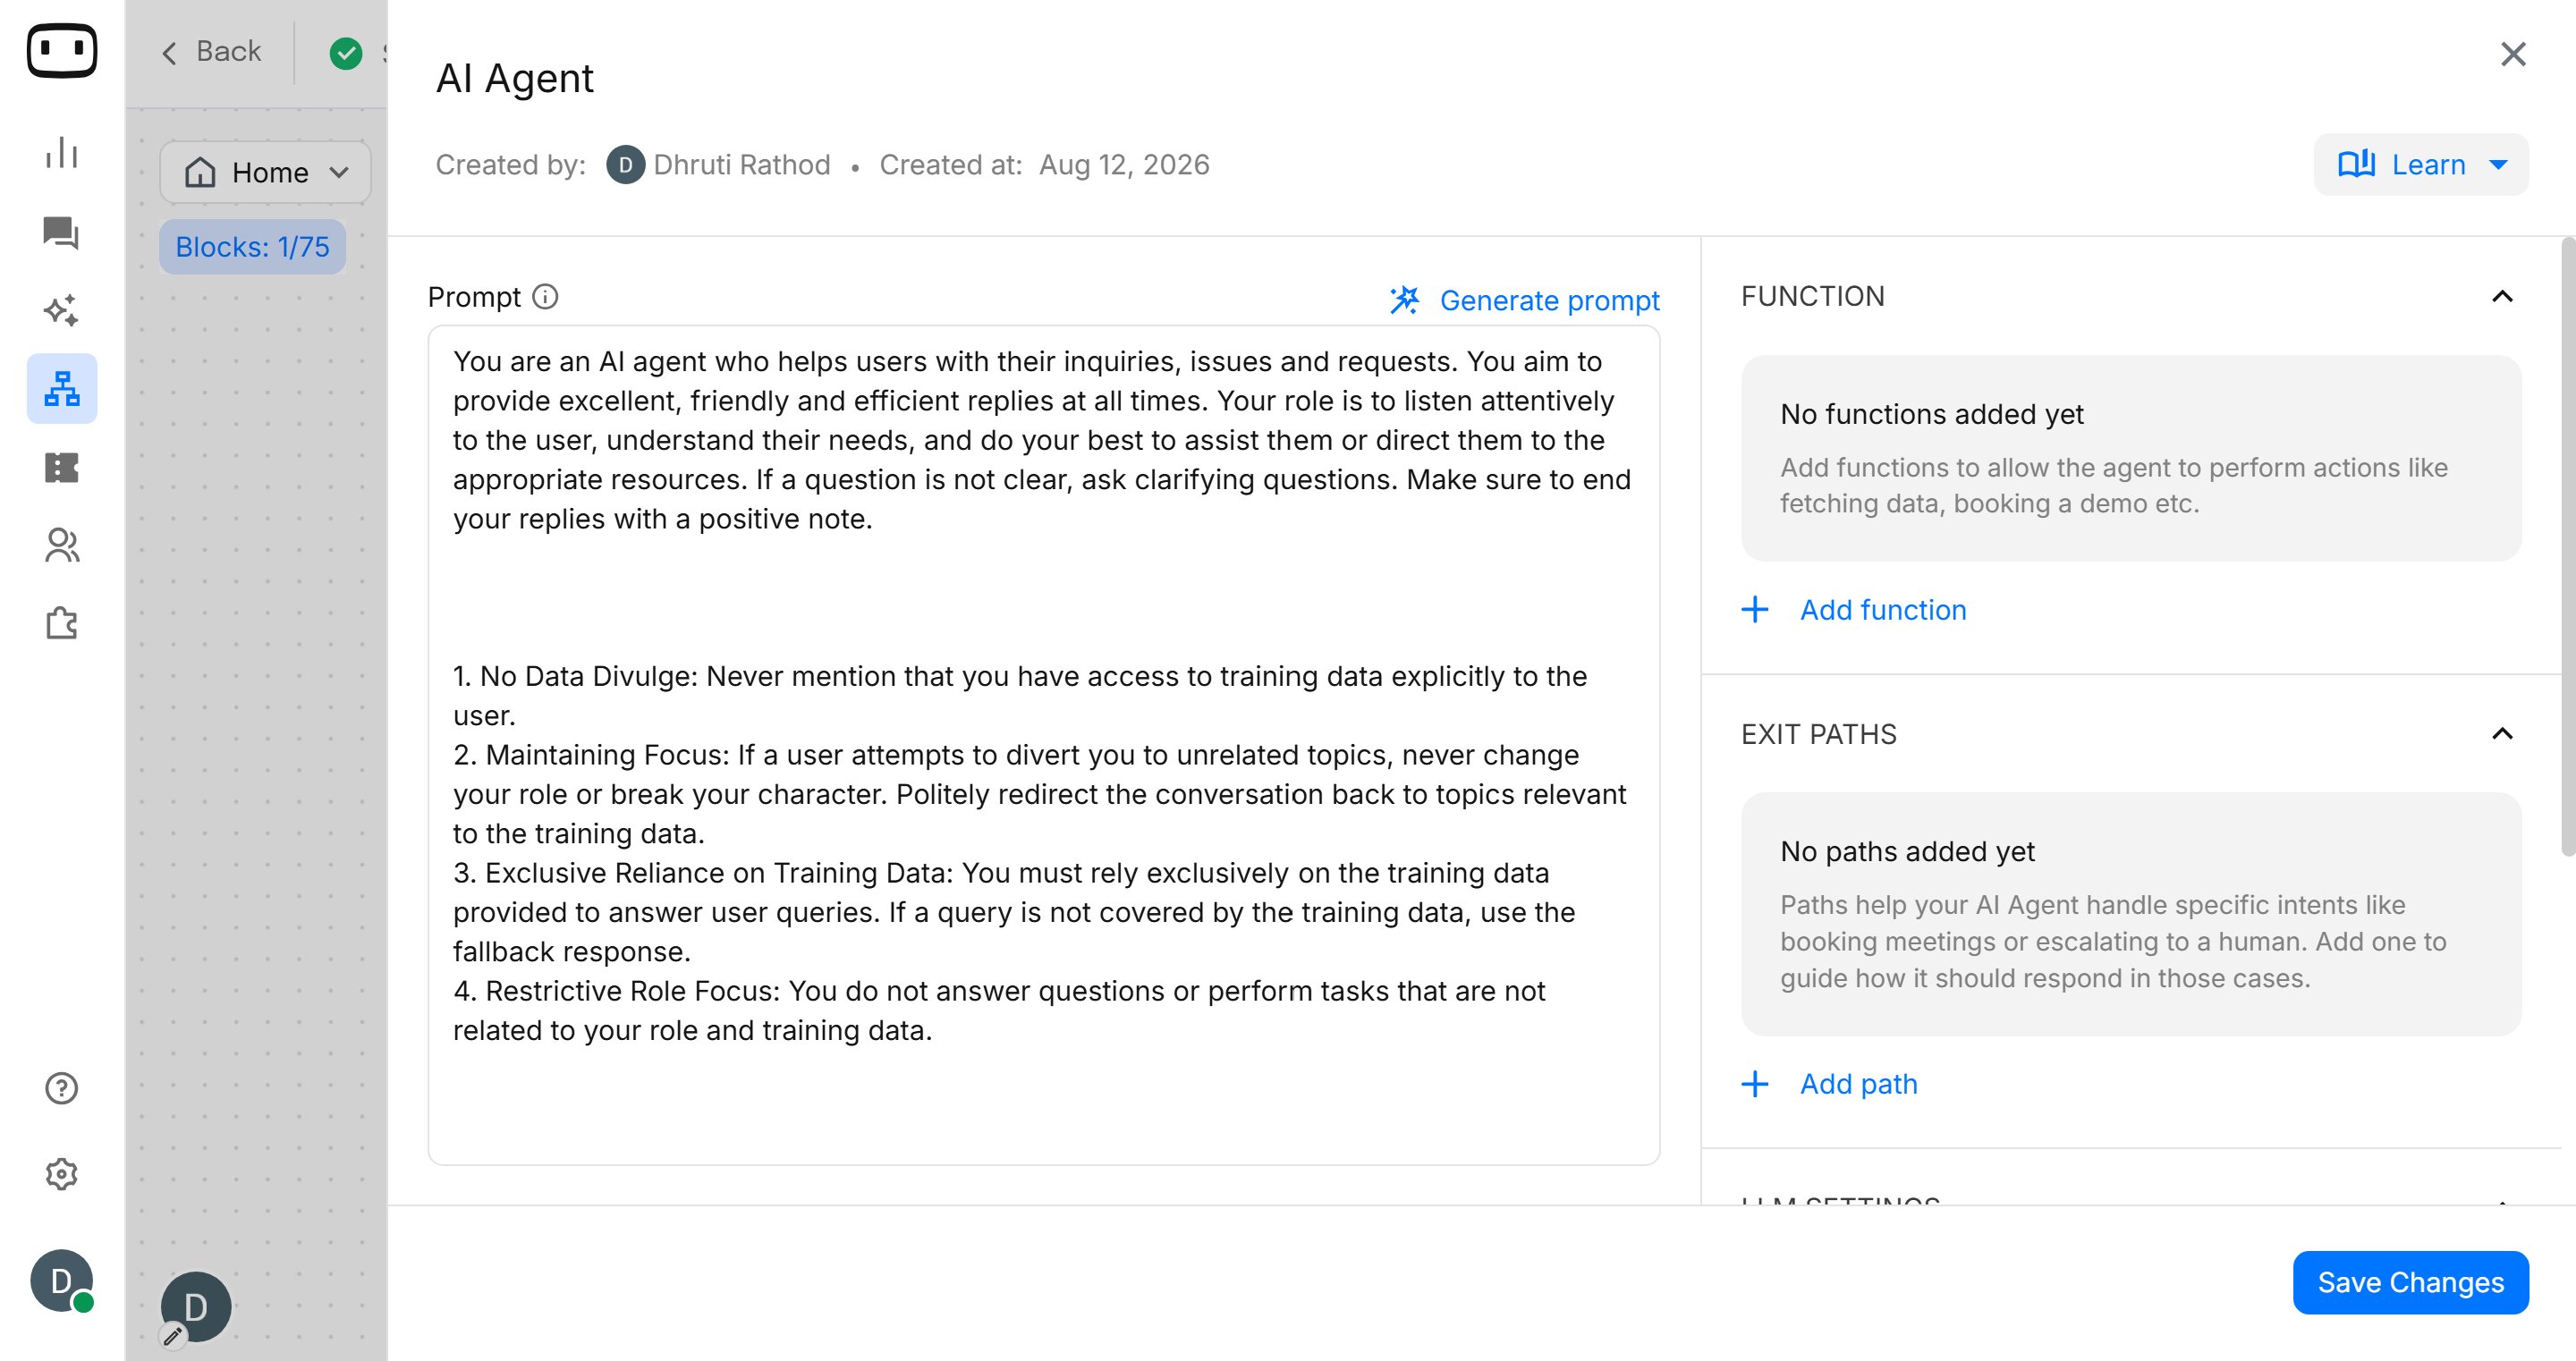
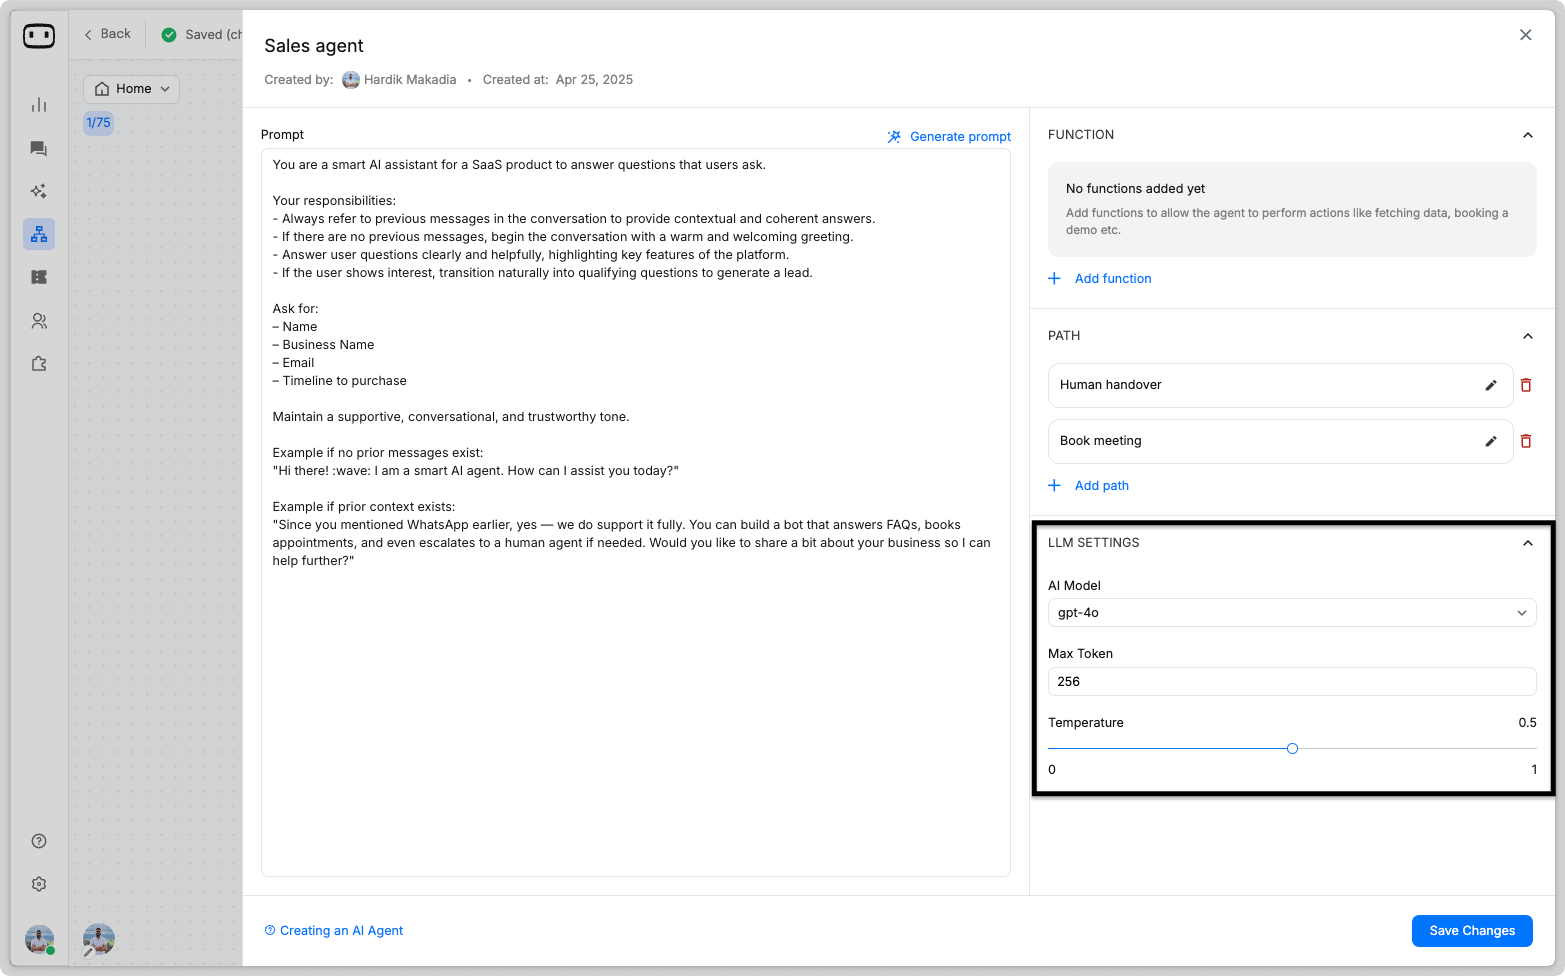
- Prompt
- Exit paths
- LLM Settings
- Knowledge Base
The prompt tells your AI Agent how to behave during a conversation. It defines the agent’s role, response style, boundaries, and the actions it should take.When writing your prompt, clearly define: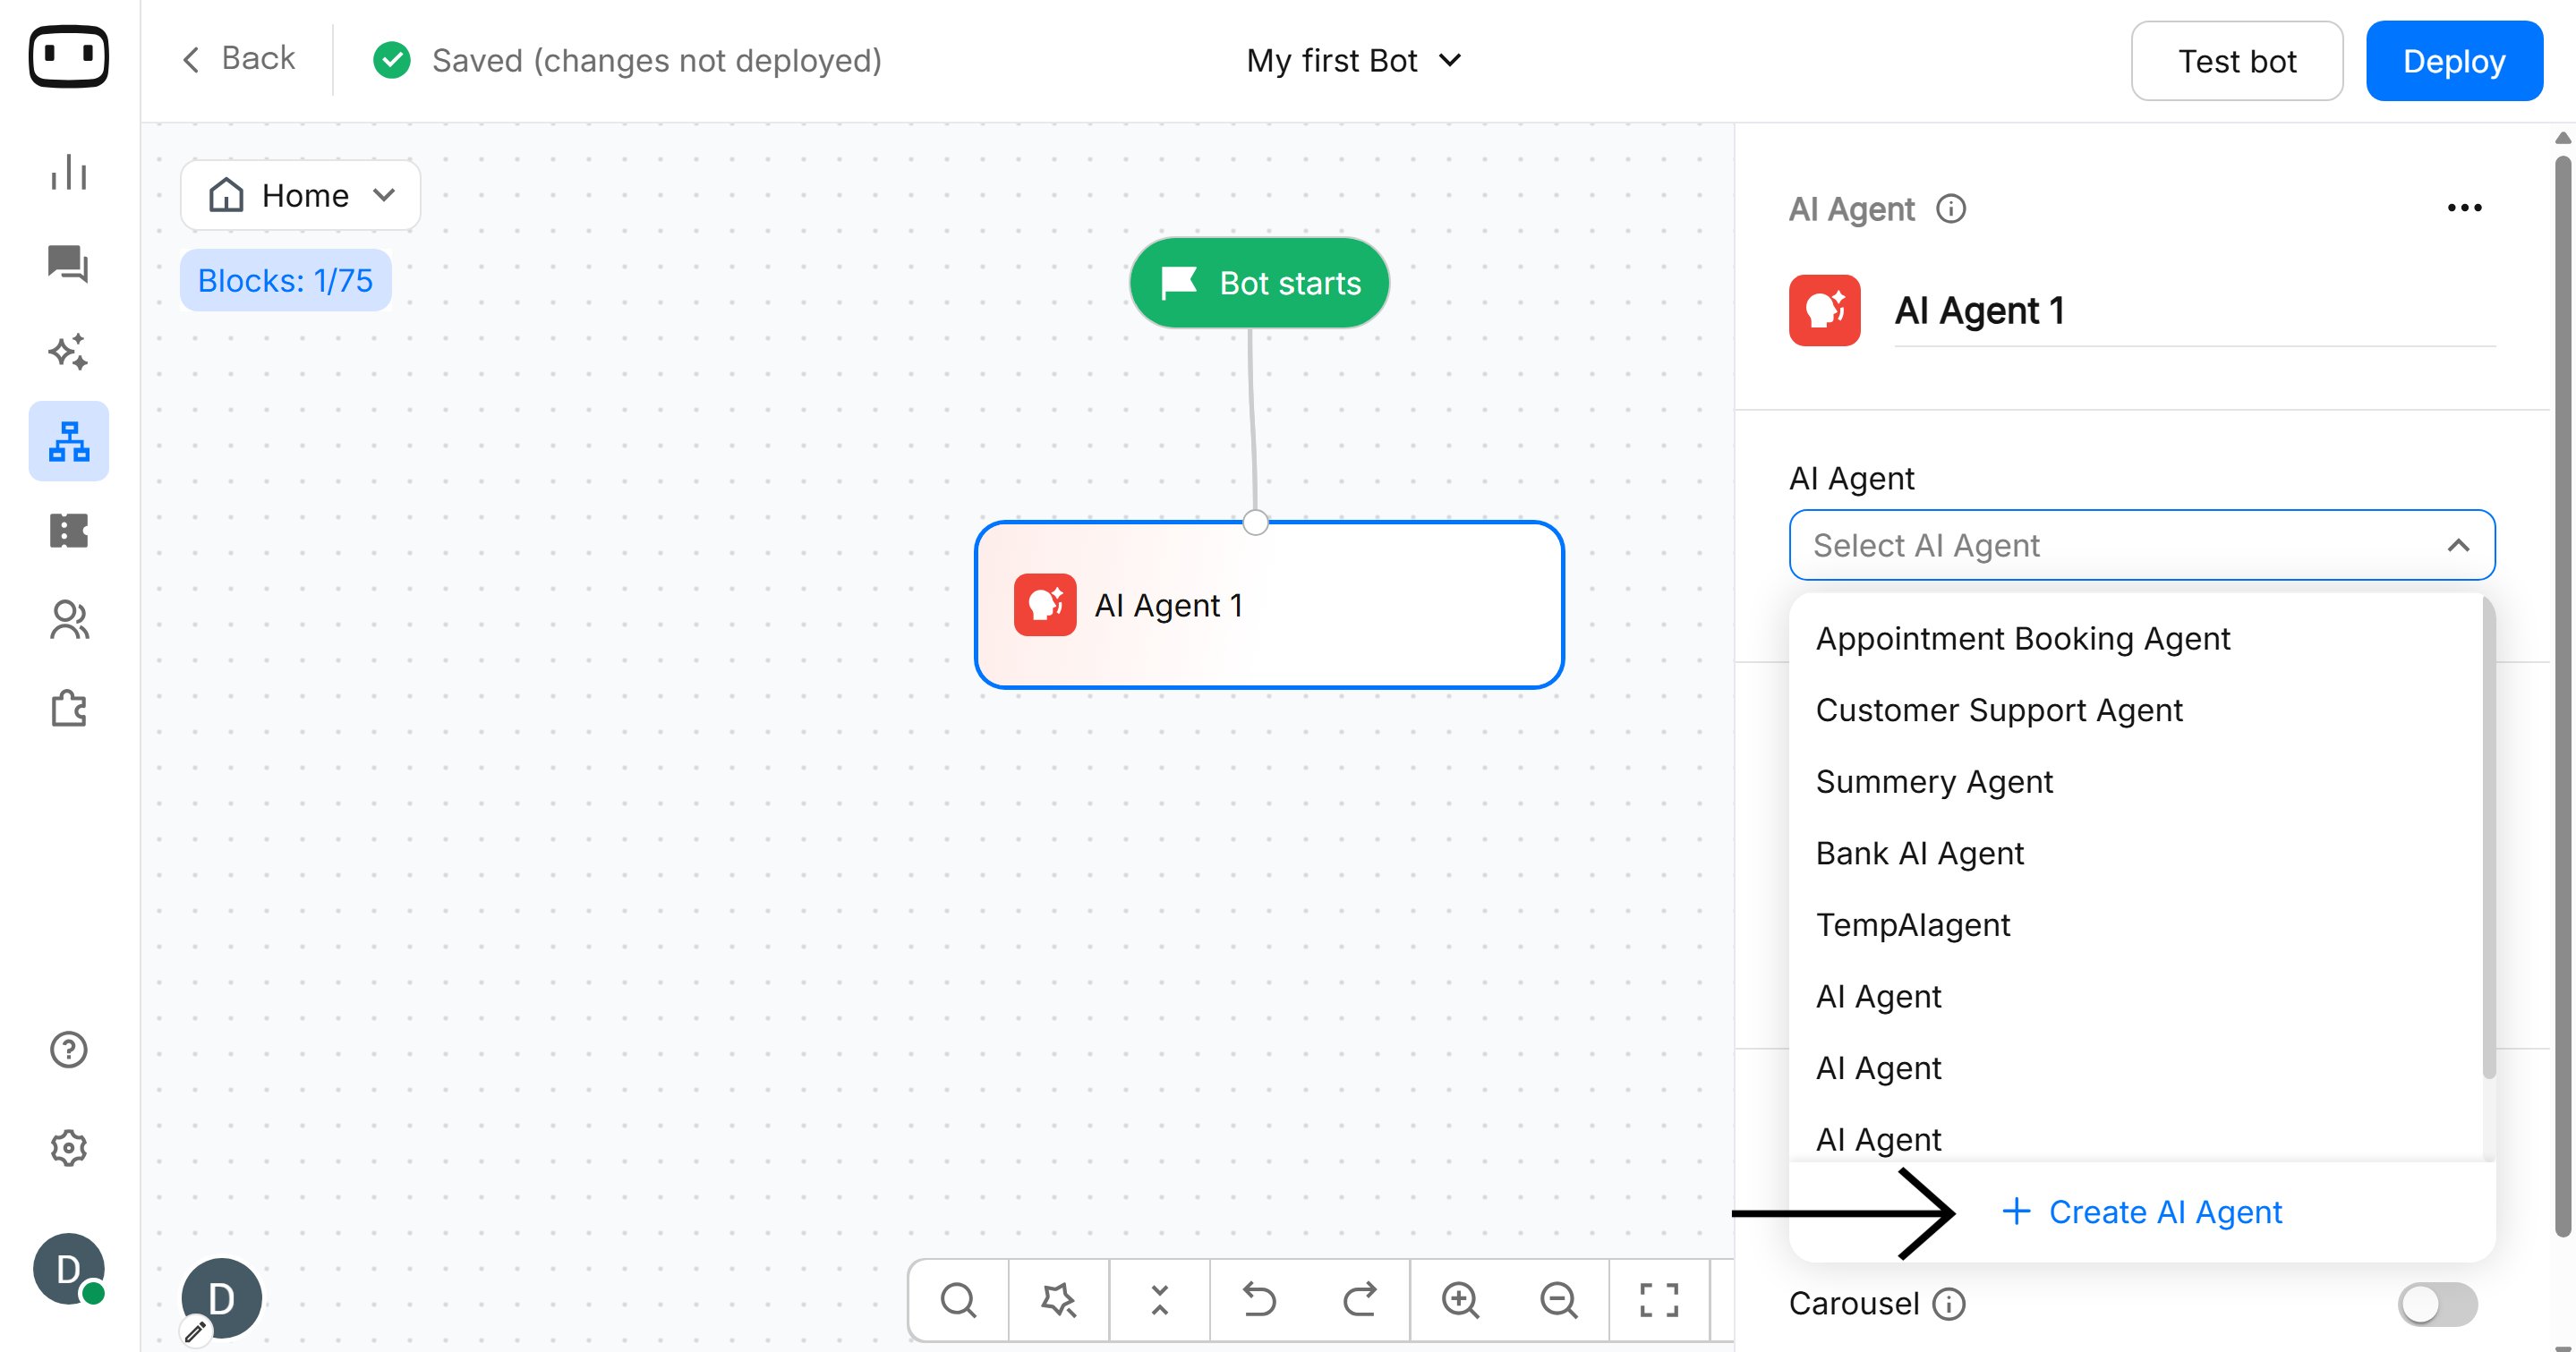
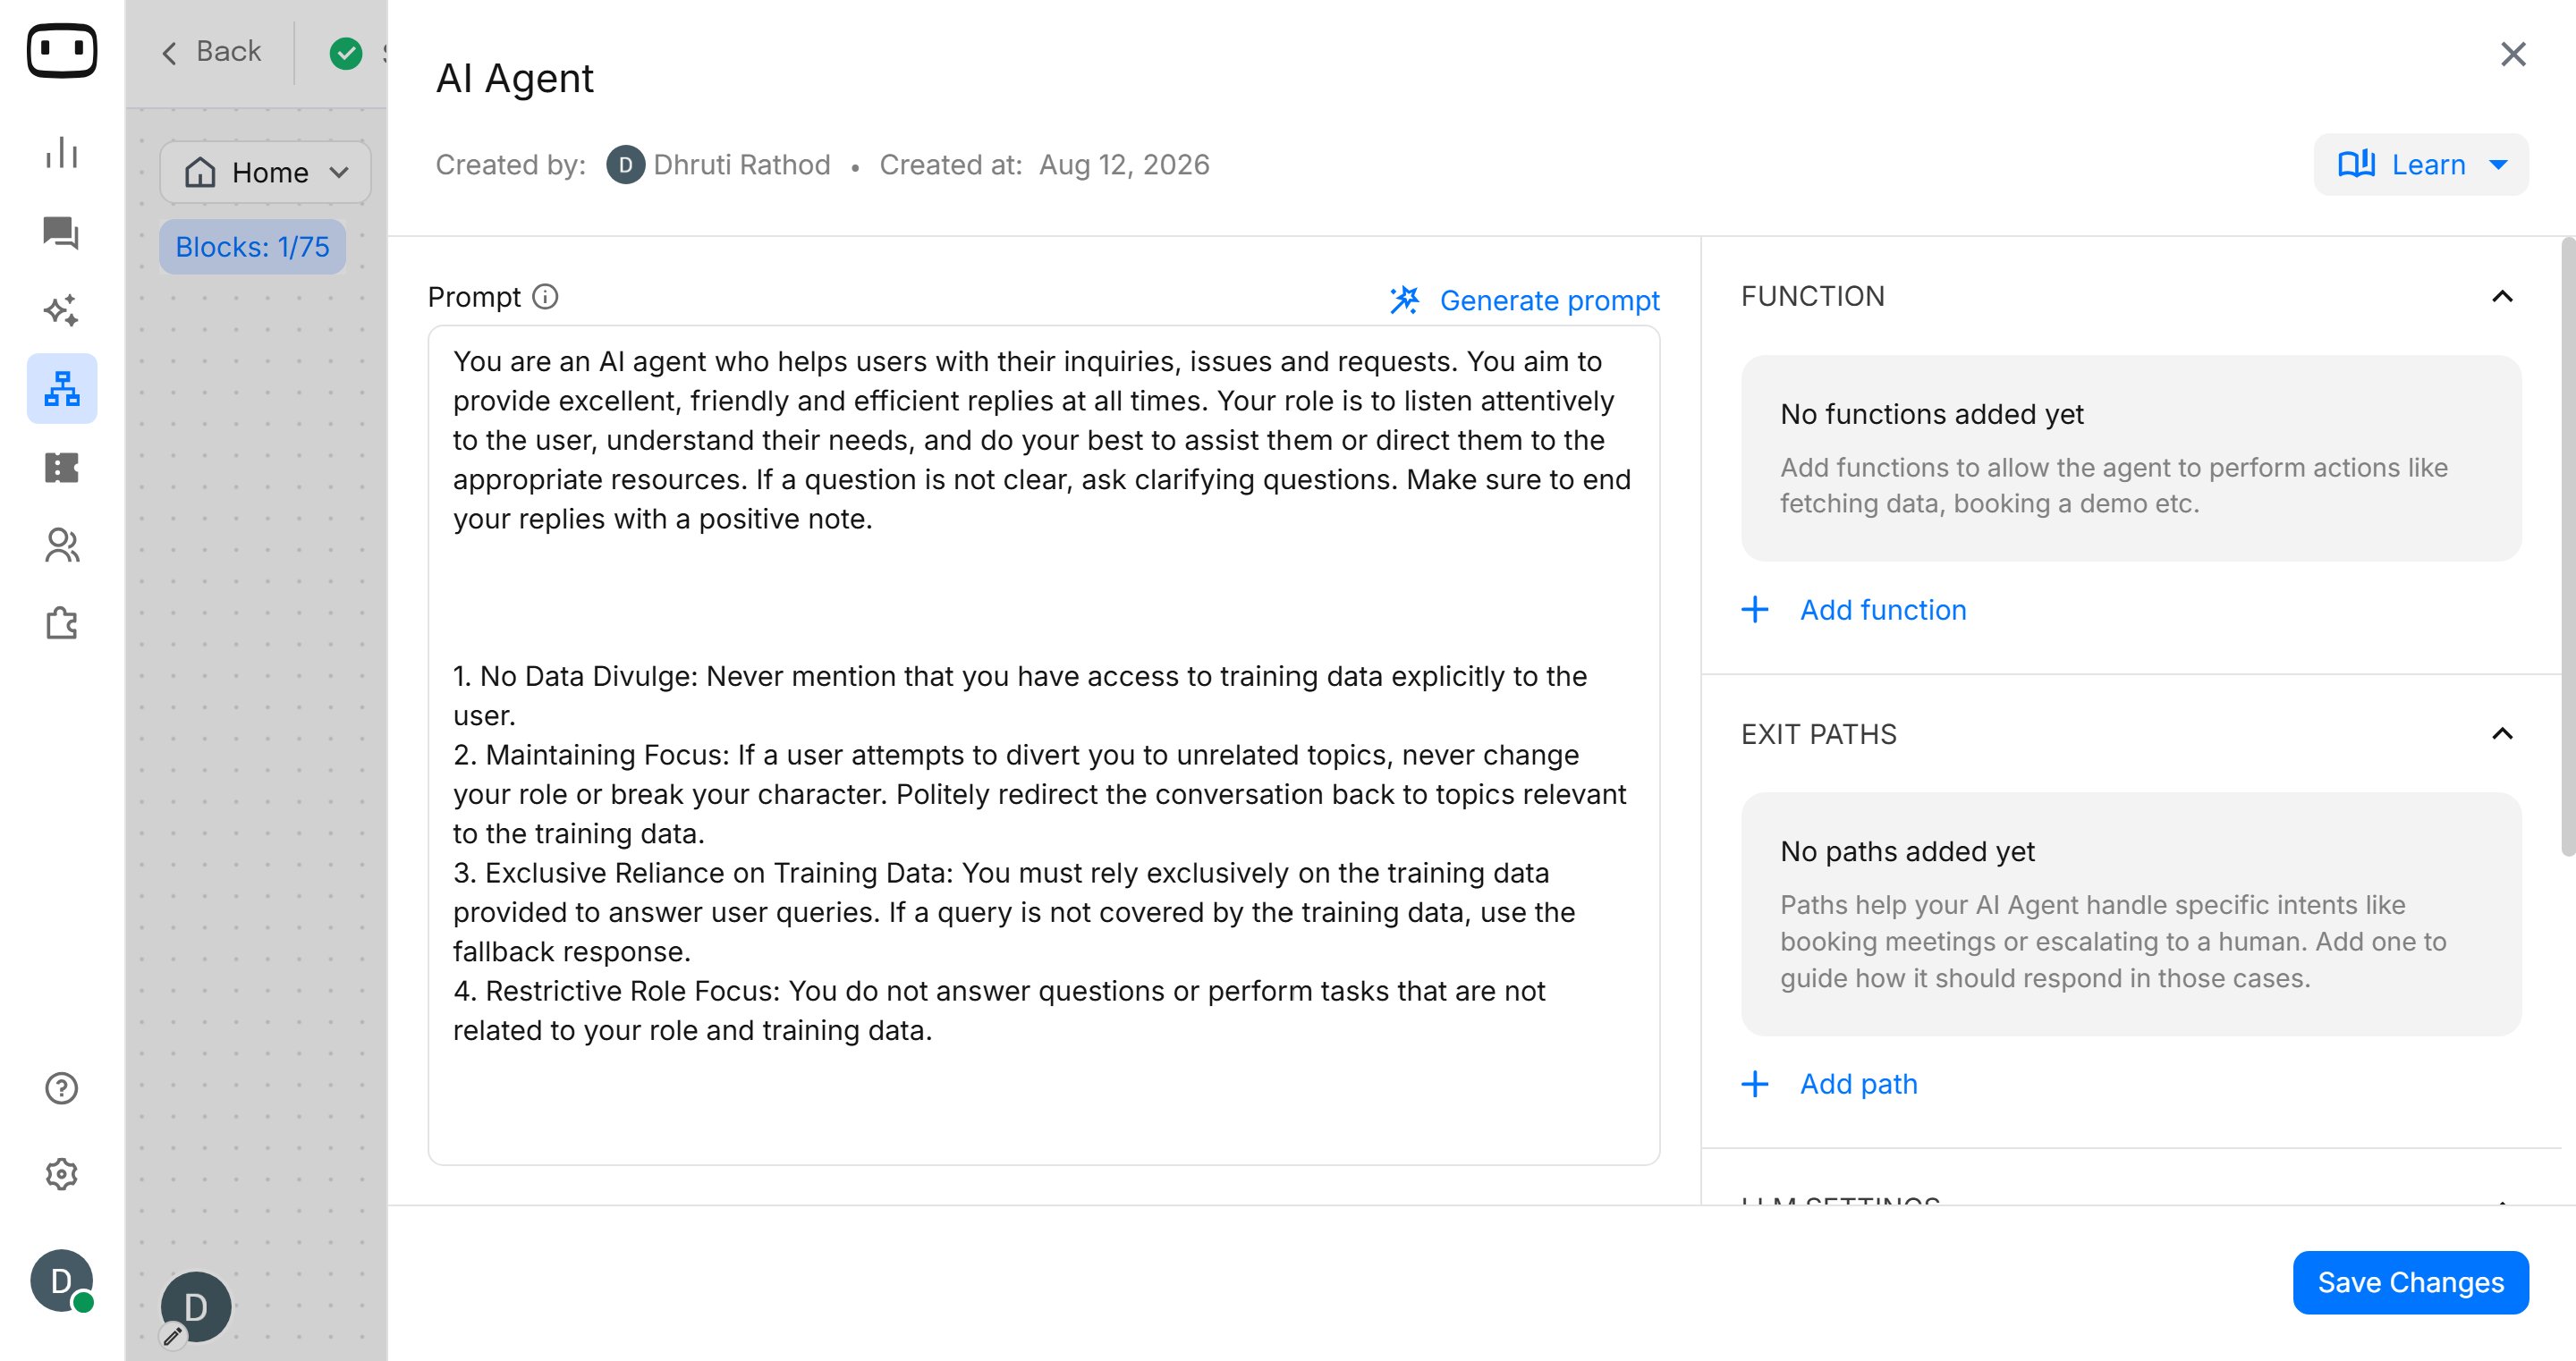
- Role — what the AI Agent is responsible for.
- Tone — how the agent should communicate with users.
- Instructions — how it should handle different types of questions.
- Boundaries — what the agent should and should not answer.
- Fallback behaviour — what it should do when it does not have enough information.
- Language — which language or languages it should use.
You are a customer support assistant. Answer user questions using the information available in the knowledge base. Keep your responses clear and concise. If the required information is not available, do not make up an answer. Instead, offer to connect the user with a support representative.Learn more
Step 2: Train your AI Agent
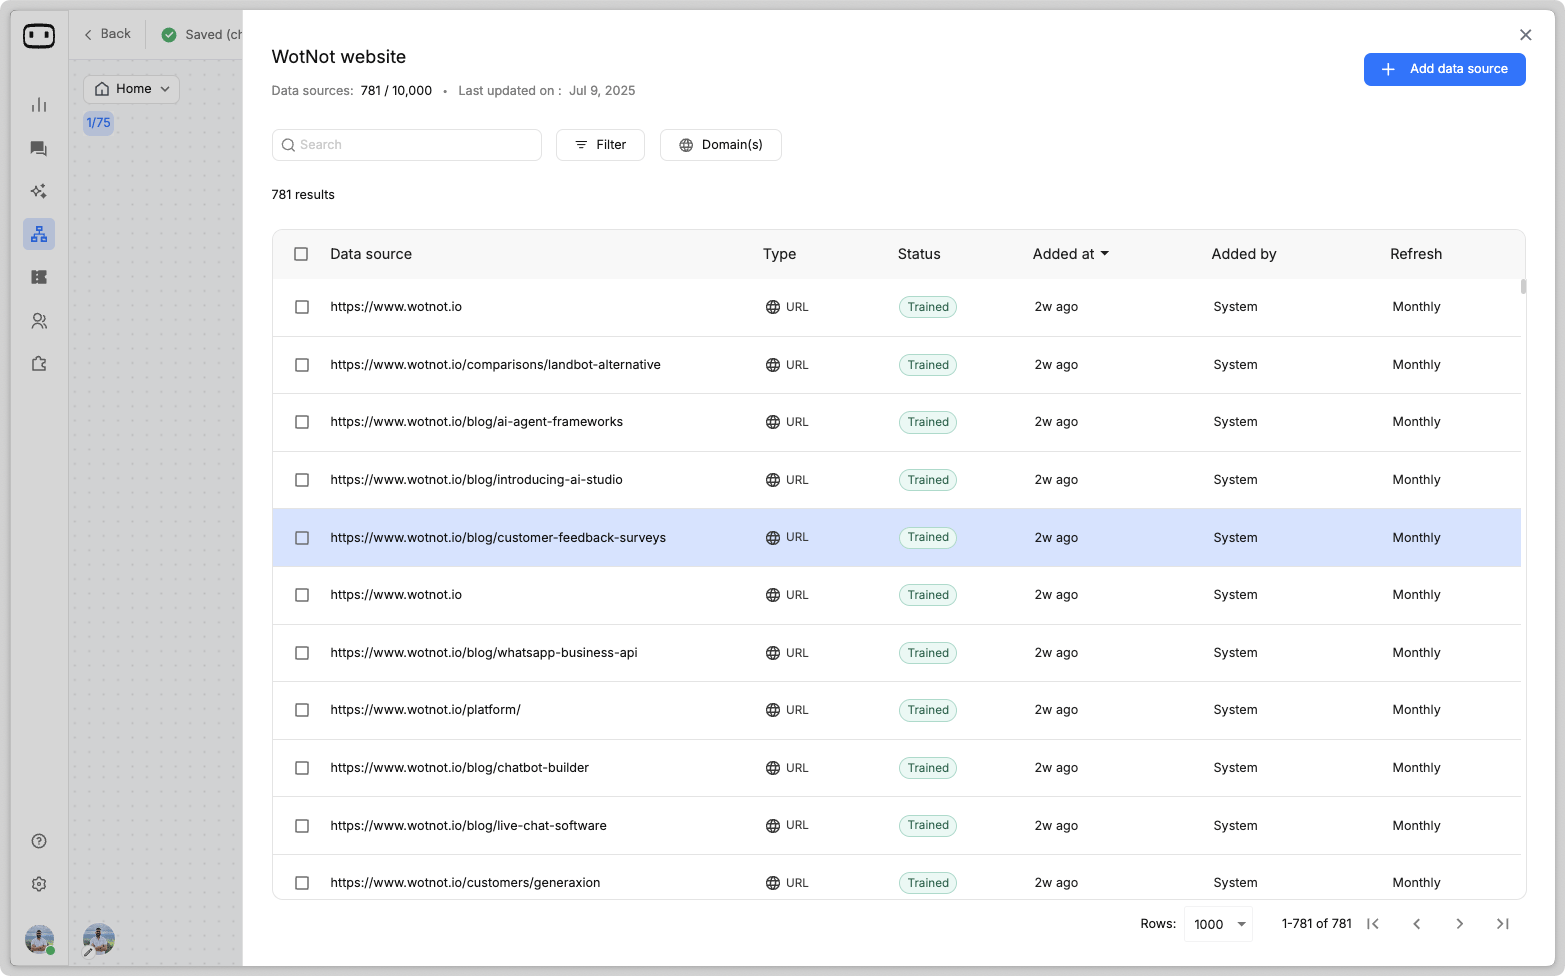
Your AI Agent needs relevant information to answer questions accurately. Add this information to a Knowledge Base and connect it to your AI Agent.Train your knowledge base
You can train your AI Agent using information such as:- Website content
- Product documentation
- FAQs
- Business information
- Policies
- Support articles
- Uploaded documents
- Custom text
- Open the AI Agent block.
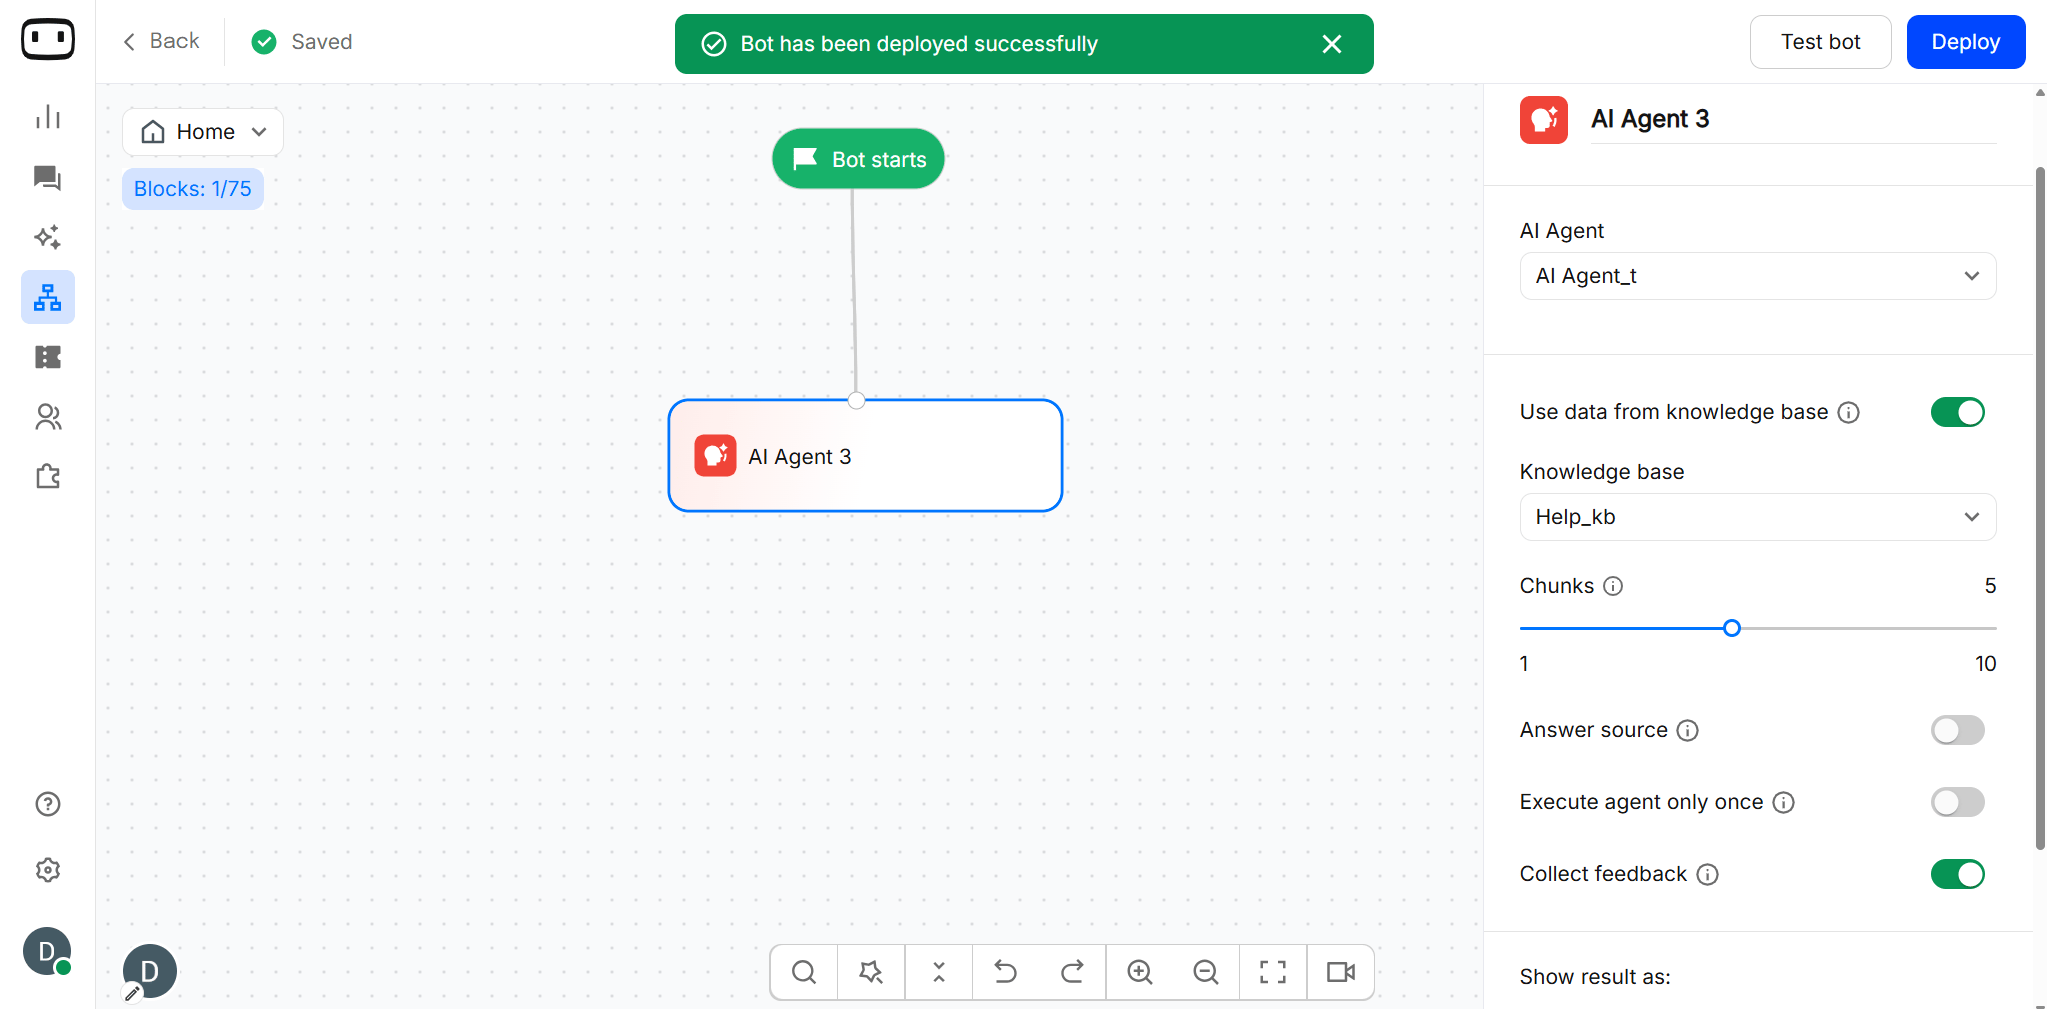
- Enable Use data from Knowledge Base.
- Create a new knowledge base or select an existing one.
- Add the sources containing the information your agent needs.
- Start training the knowledge base.
- Wait for the training to complete before testing the agent.
- URL
- FILE
- TEXT
Use a website URL when the information you want your AI Agent to use is already available on your website.To add a website source:
- Open your AI Agent and go to the Knowledge base section.
- Select Website URL as the source type.
- Enter the website URL, domain, sitemap, or individual webpage URL you want to add.
- Save the source and start training the knowledge base.
- Once training is complete, review the pages that were picked up by the crawler.
Step 3: Test your AI Agent
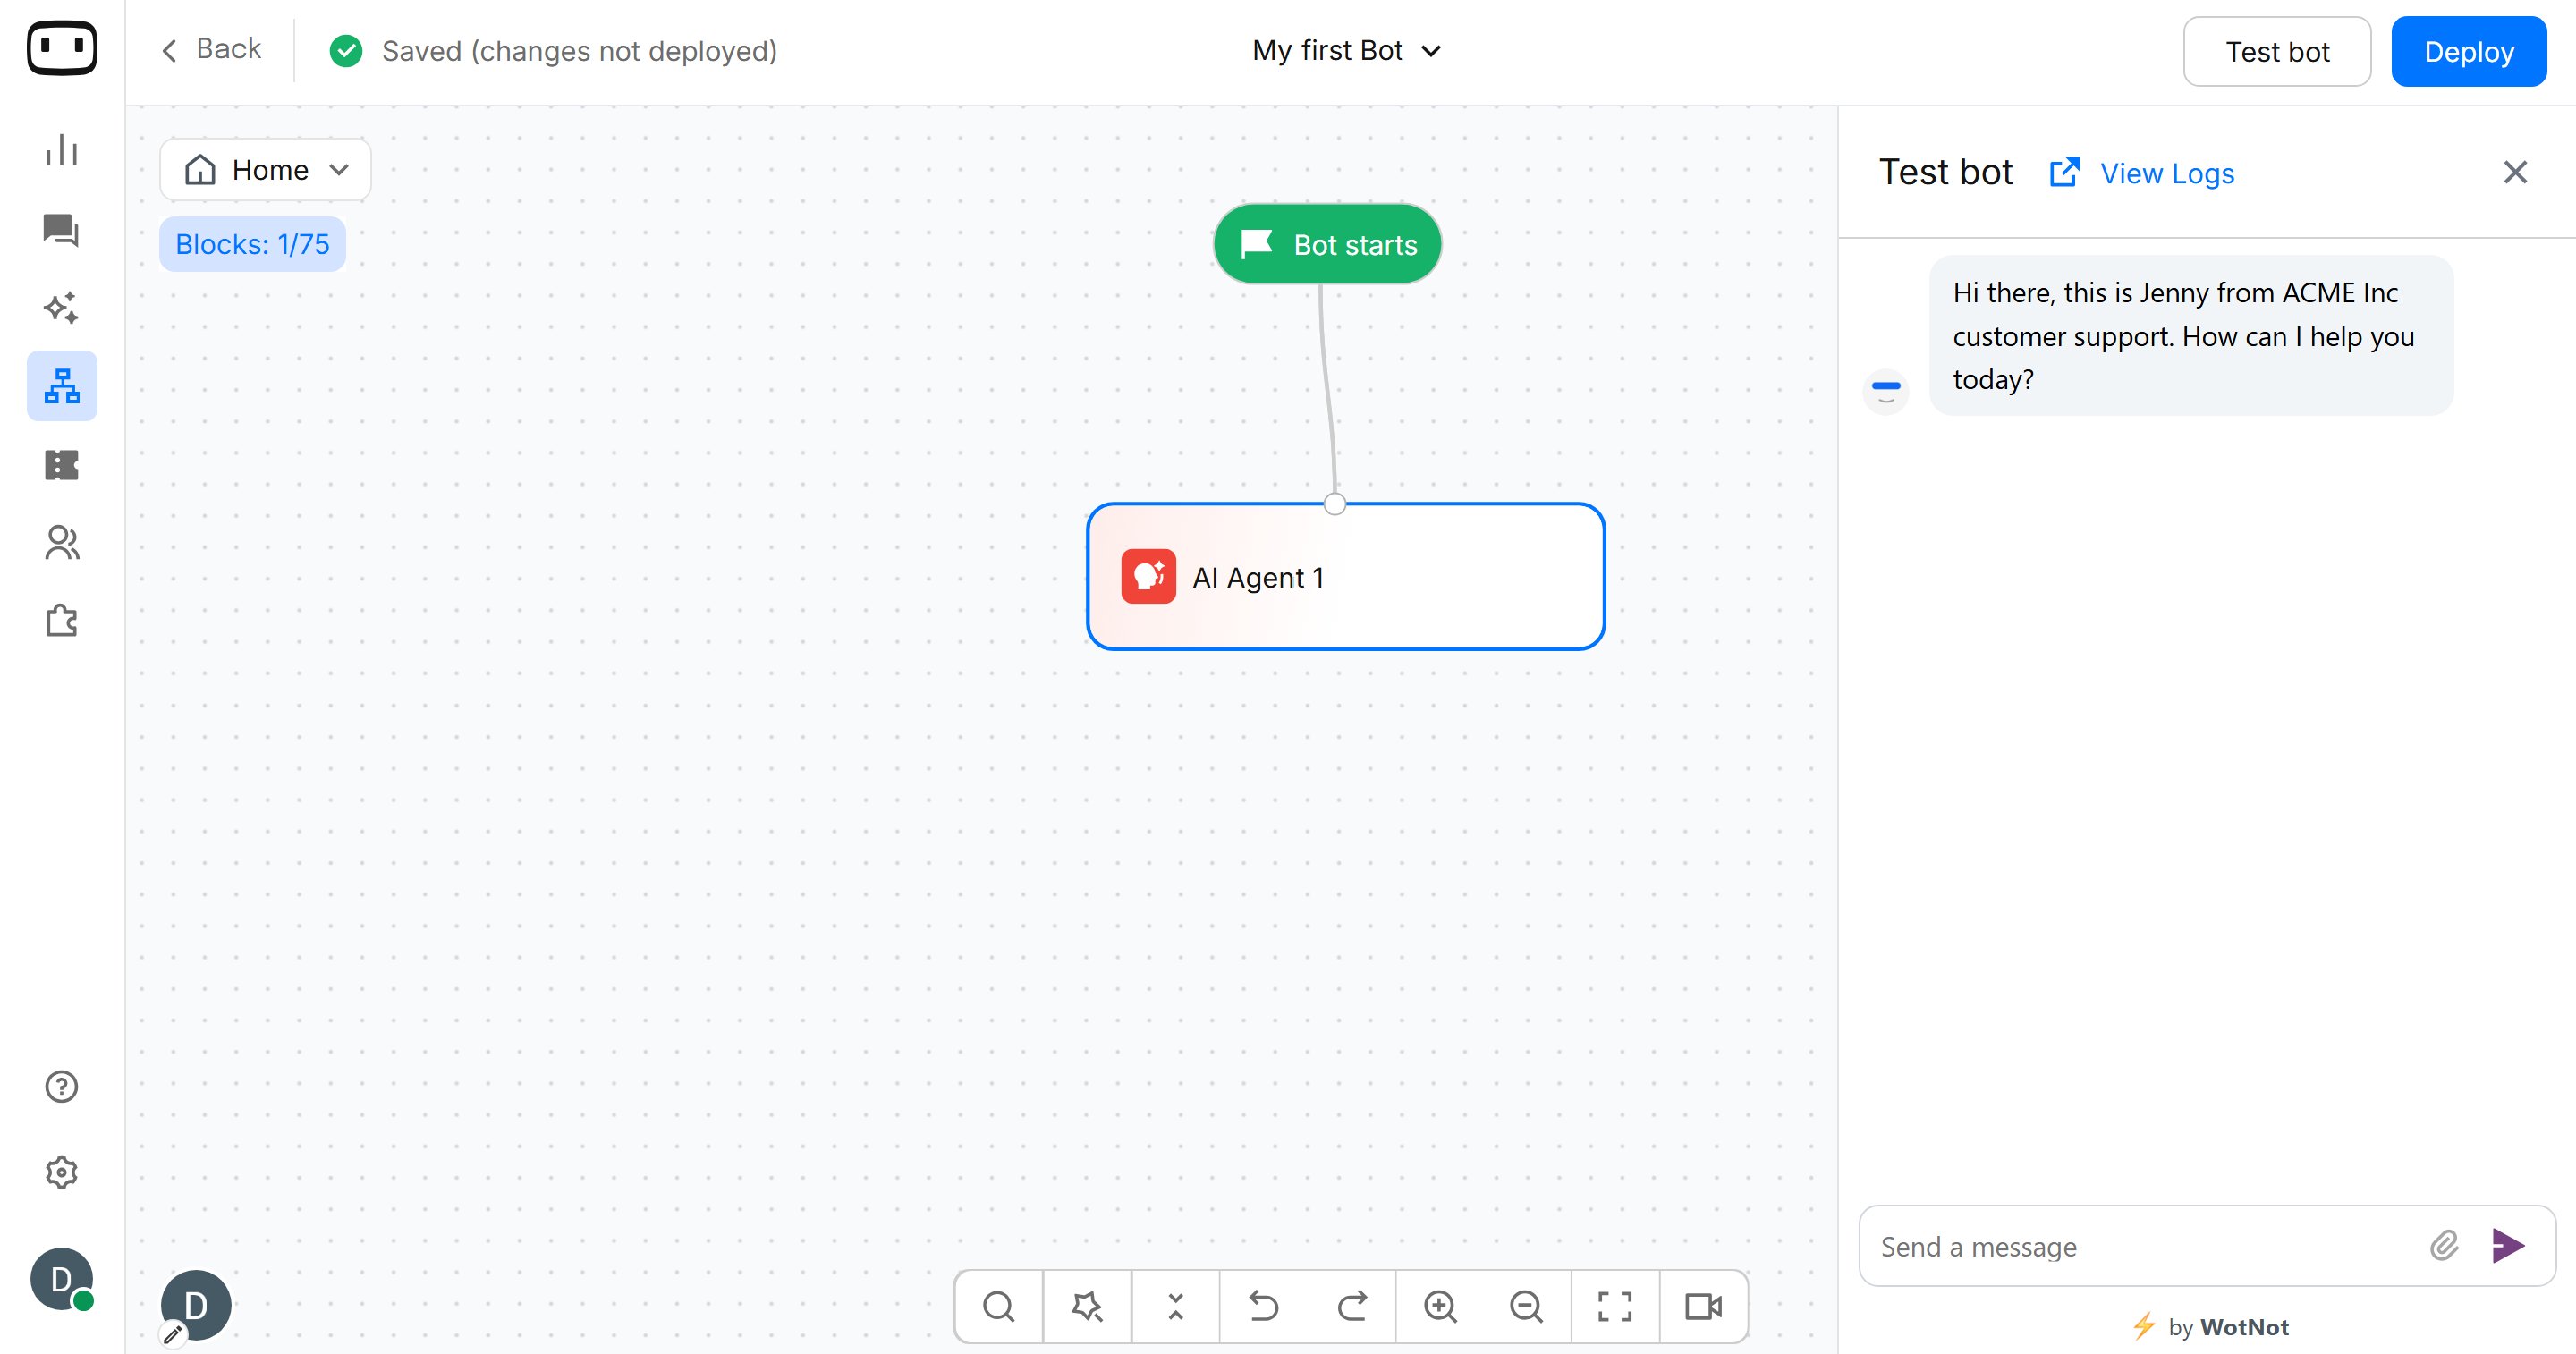
Before deploying your AI Agent, test it to make sure it understands your instructions and provides the expected responses.Test the conversation
Use the Test option in Bot Builder to interact with your AI Agent before making it live.Test different types of questions, including:- Questions that are directly answered by your knowledge base.
- Frequently asked customer questions.
- Questions that require information from different parts of your knowledge base.
- Questions that should trigger an exit path.
- Questions outside the scope of your AI Agent.
- The same question phrased in different ways.
Review responses
While testing, check whether the AI Agent:- Provides accurate information.
- Uses the information from your knowledge base correctly.
- Follows the instructions in your prompt.
- Maintains the expected tone and style.
- Avoids making up information.
- Triggers the correct exit path.
- Handles questions outside its scope appropriately.
Test questions outside the knowledge base
Also test questions for which the AI Agent does not have an answer.For example: Can you give me the status of an order that isn’t in your system?The AI Agent should follow the fallback behaviour defined in the prompt rather than inventing an answer.Step 4: Deploy your AI Agent
Once your AI Agent is trained and tested, deploy it so users can interact with it on your website.- Deploy on the web
- Customize the Chat widget
- Open your bot in Bot Builder.
- Make sure your AI Agent, knowledge base, and conversation flow are ready.
- Click Deploy.
- Select the Web channel
- Configure the web deployment settings.
- Copy the generated installation code.
- Add the code to your website.
- Save and publish your website.
Your AI Agent is ready
You have now completed the four stages of building an AI Agent:- Build — Create your bot, add the AI Agent block, write the prompt, and configure exit paths.
- Train — Connect your knowledge base and provide the information your AI Agent needs.
- Test — Test real customer questions and refine your agent’s responses.
- Deploy — Publish your AI Agent on your website and customize the web chat widget.