Creating contacts
WotNot creates contacts automatically during conversations OR through manual creation OR API invocation.- To create a contact, EMAIL/PHONE is mandatory
- Every contact is unique, so returning contacts are matched to existing records
Creating a contact manually
You can create a contact directly from the Contacts section when you need to add a person who has not yet interacted with your agent.Steps
- Open Contacts from the WotNot dashboard.
- Select Create Contact from the right side corner.
- Enter the contact’s required information.
- Click on Create Contact.

Viewing contact details
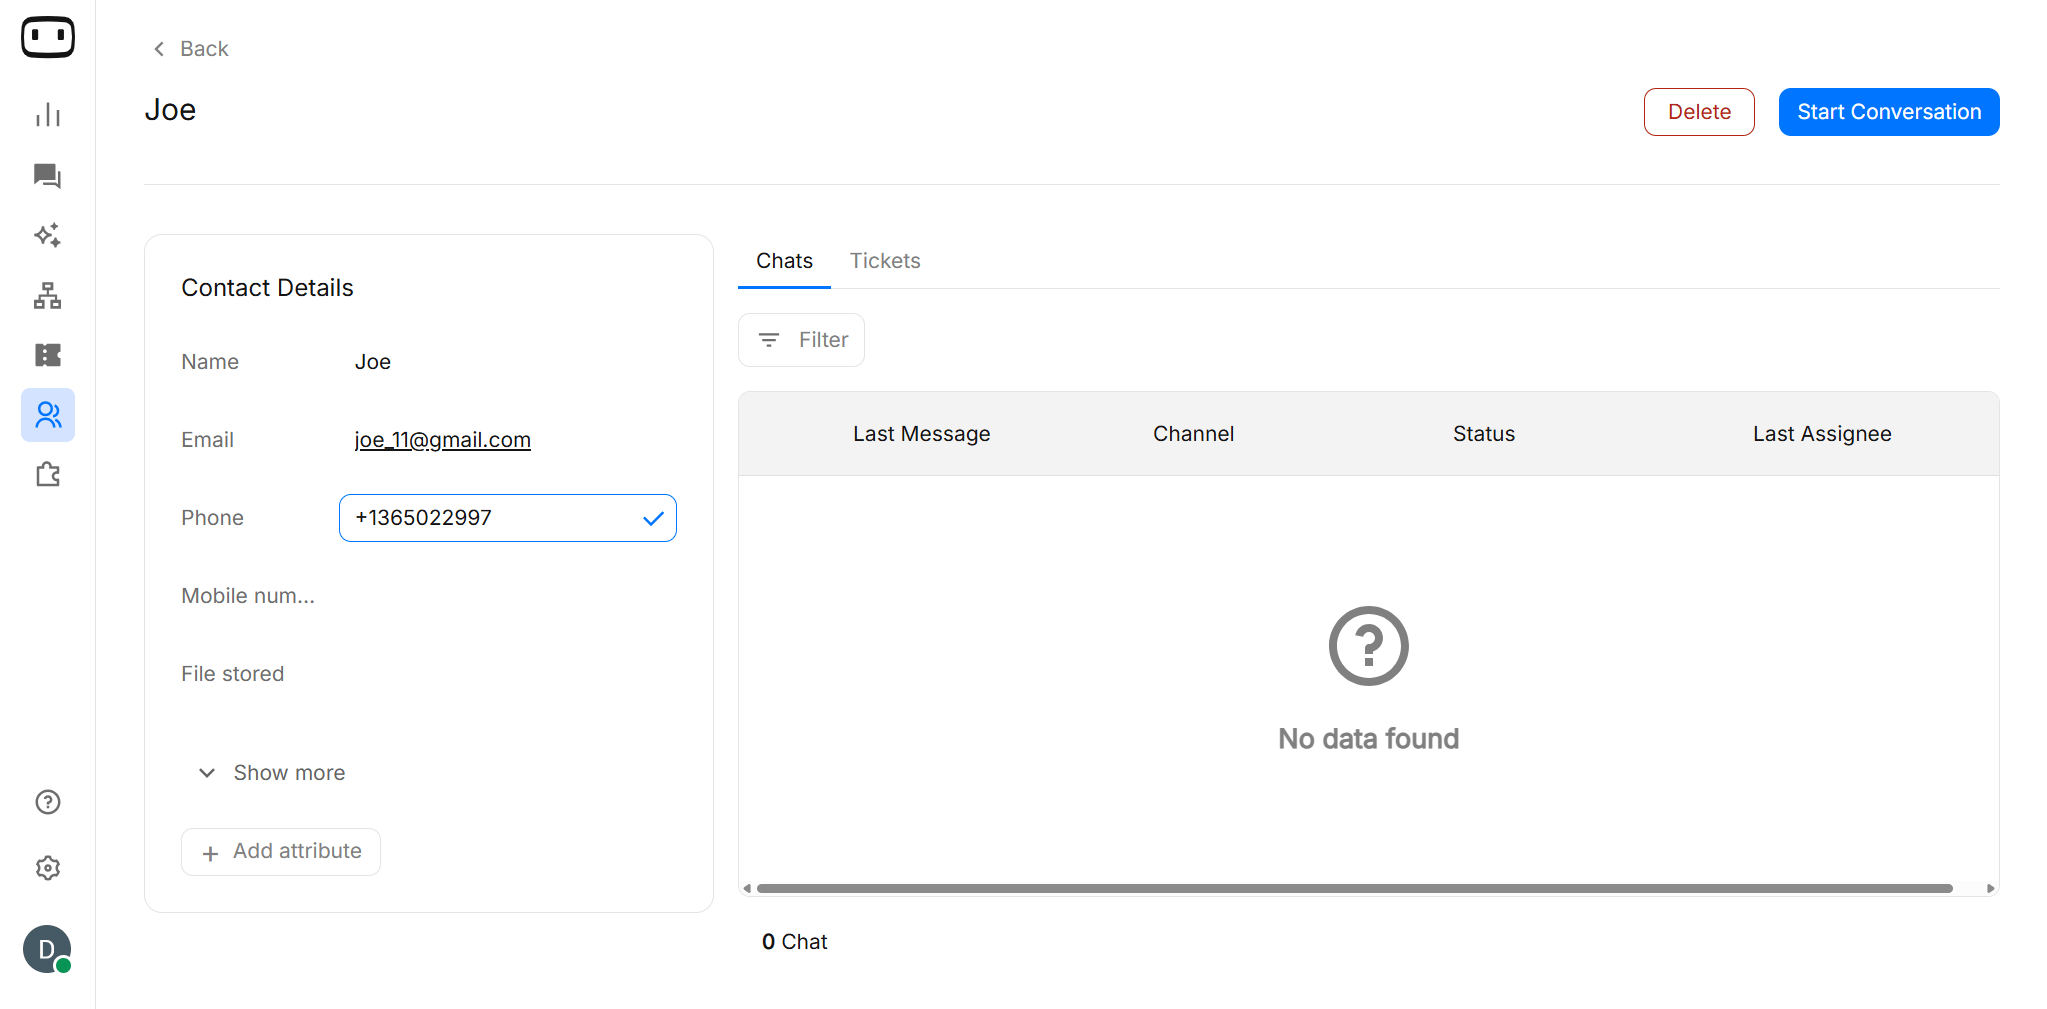
You can click on any contact from the contacts page to view the contact details. This will show you all the field values associated with that contact and the conversations that the contact had with your chatbots in the past.
How duplicate contacts are handled
WotNot identifies contacts using their phone number or email address. When a returning person interacts with your agent, WotNot checks whether a matching contact already exists. If a matching identifier is found, the interaction is associated with the existing contact rather than creating another contact record. This keeps the contact database organized and allows information from multiple conversations to remain associated with the same person.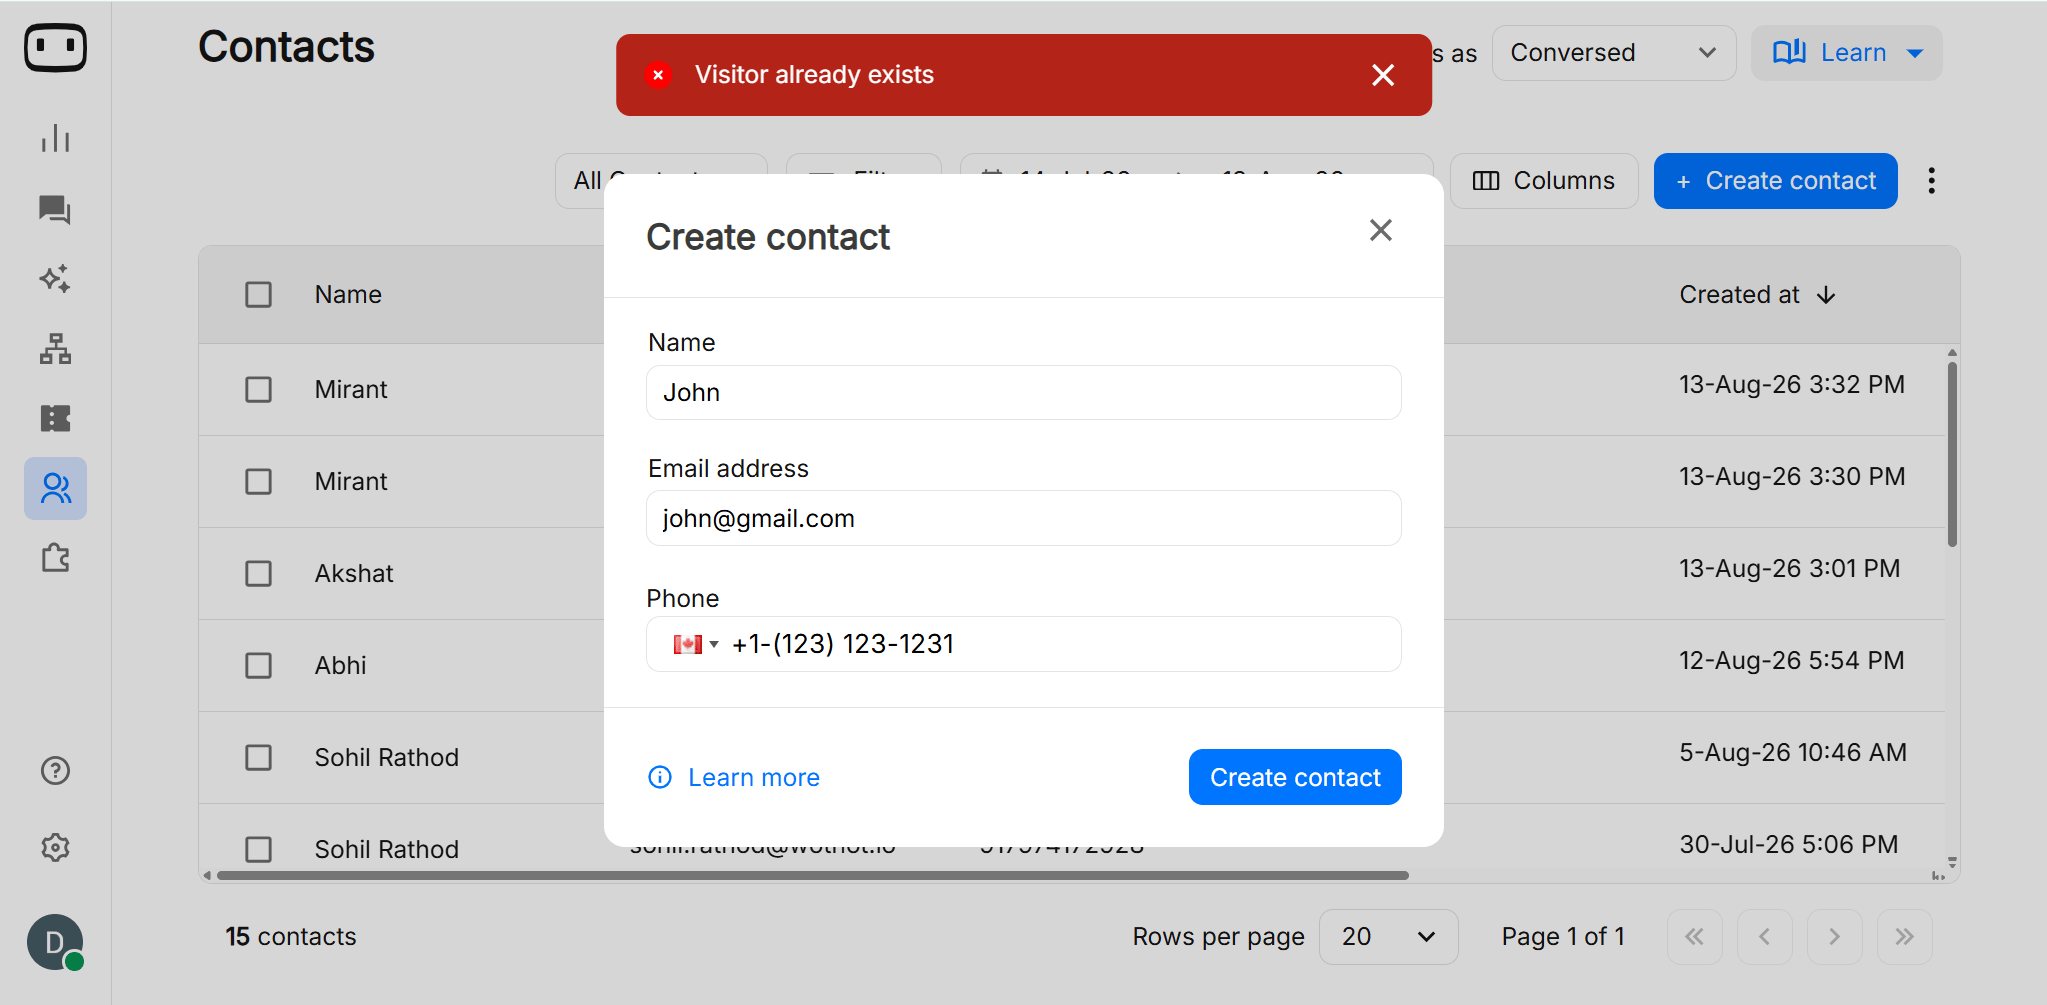
Editing a Contact
You can update an existing contact when their information changes or when you need to add or modify an attribute.
- Open Contacts from the navbar.
- Search for the contact you want to update.
- Open the contact record.
- Select the field you want to change. i.e. Name, Email, Phone…
- Update the contact Details.
- Save your changes
Standard fields and Custom attributes
Standard fields contain commonly used contact information such as:- Name
- Phone number
- Email address
- Customer type
- Account ID
- Preferred language
- Subscription plan
- Lead source
- Location
- Customer status
Contact List
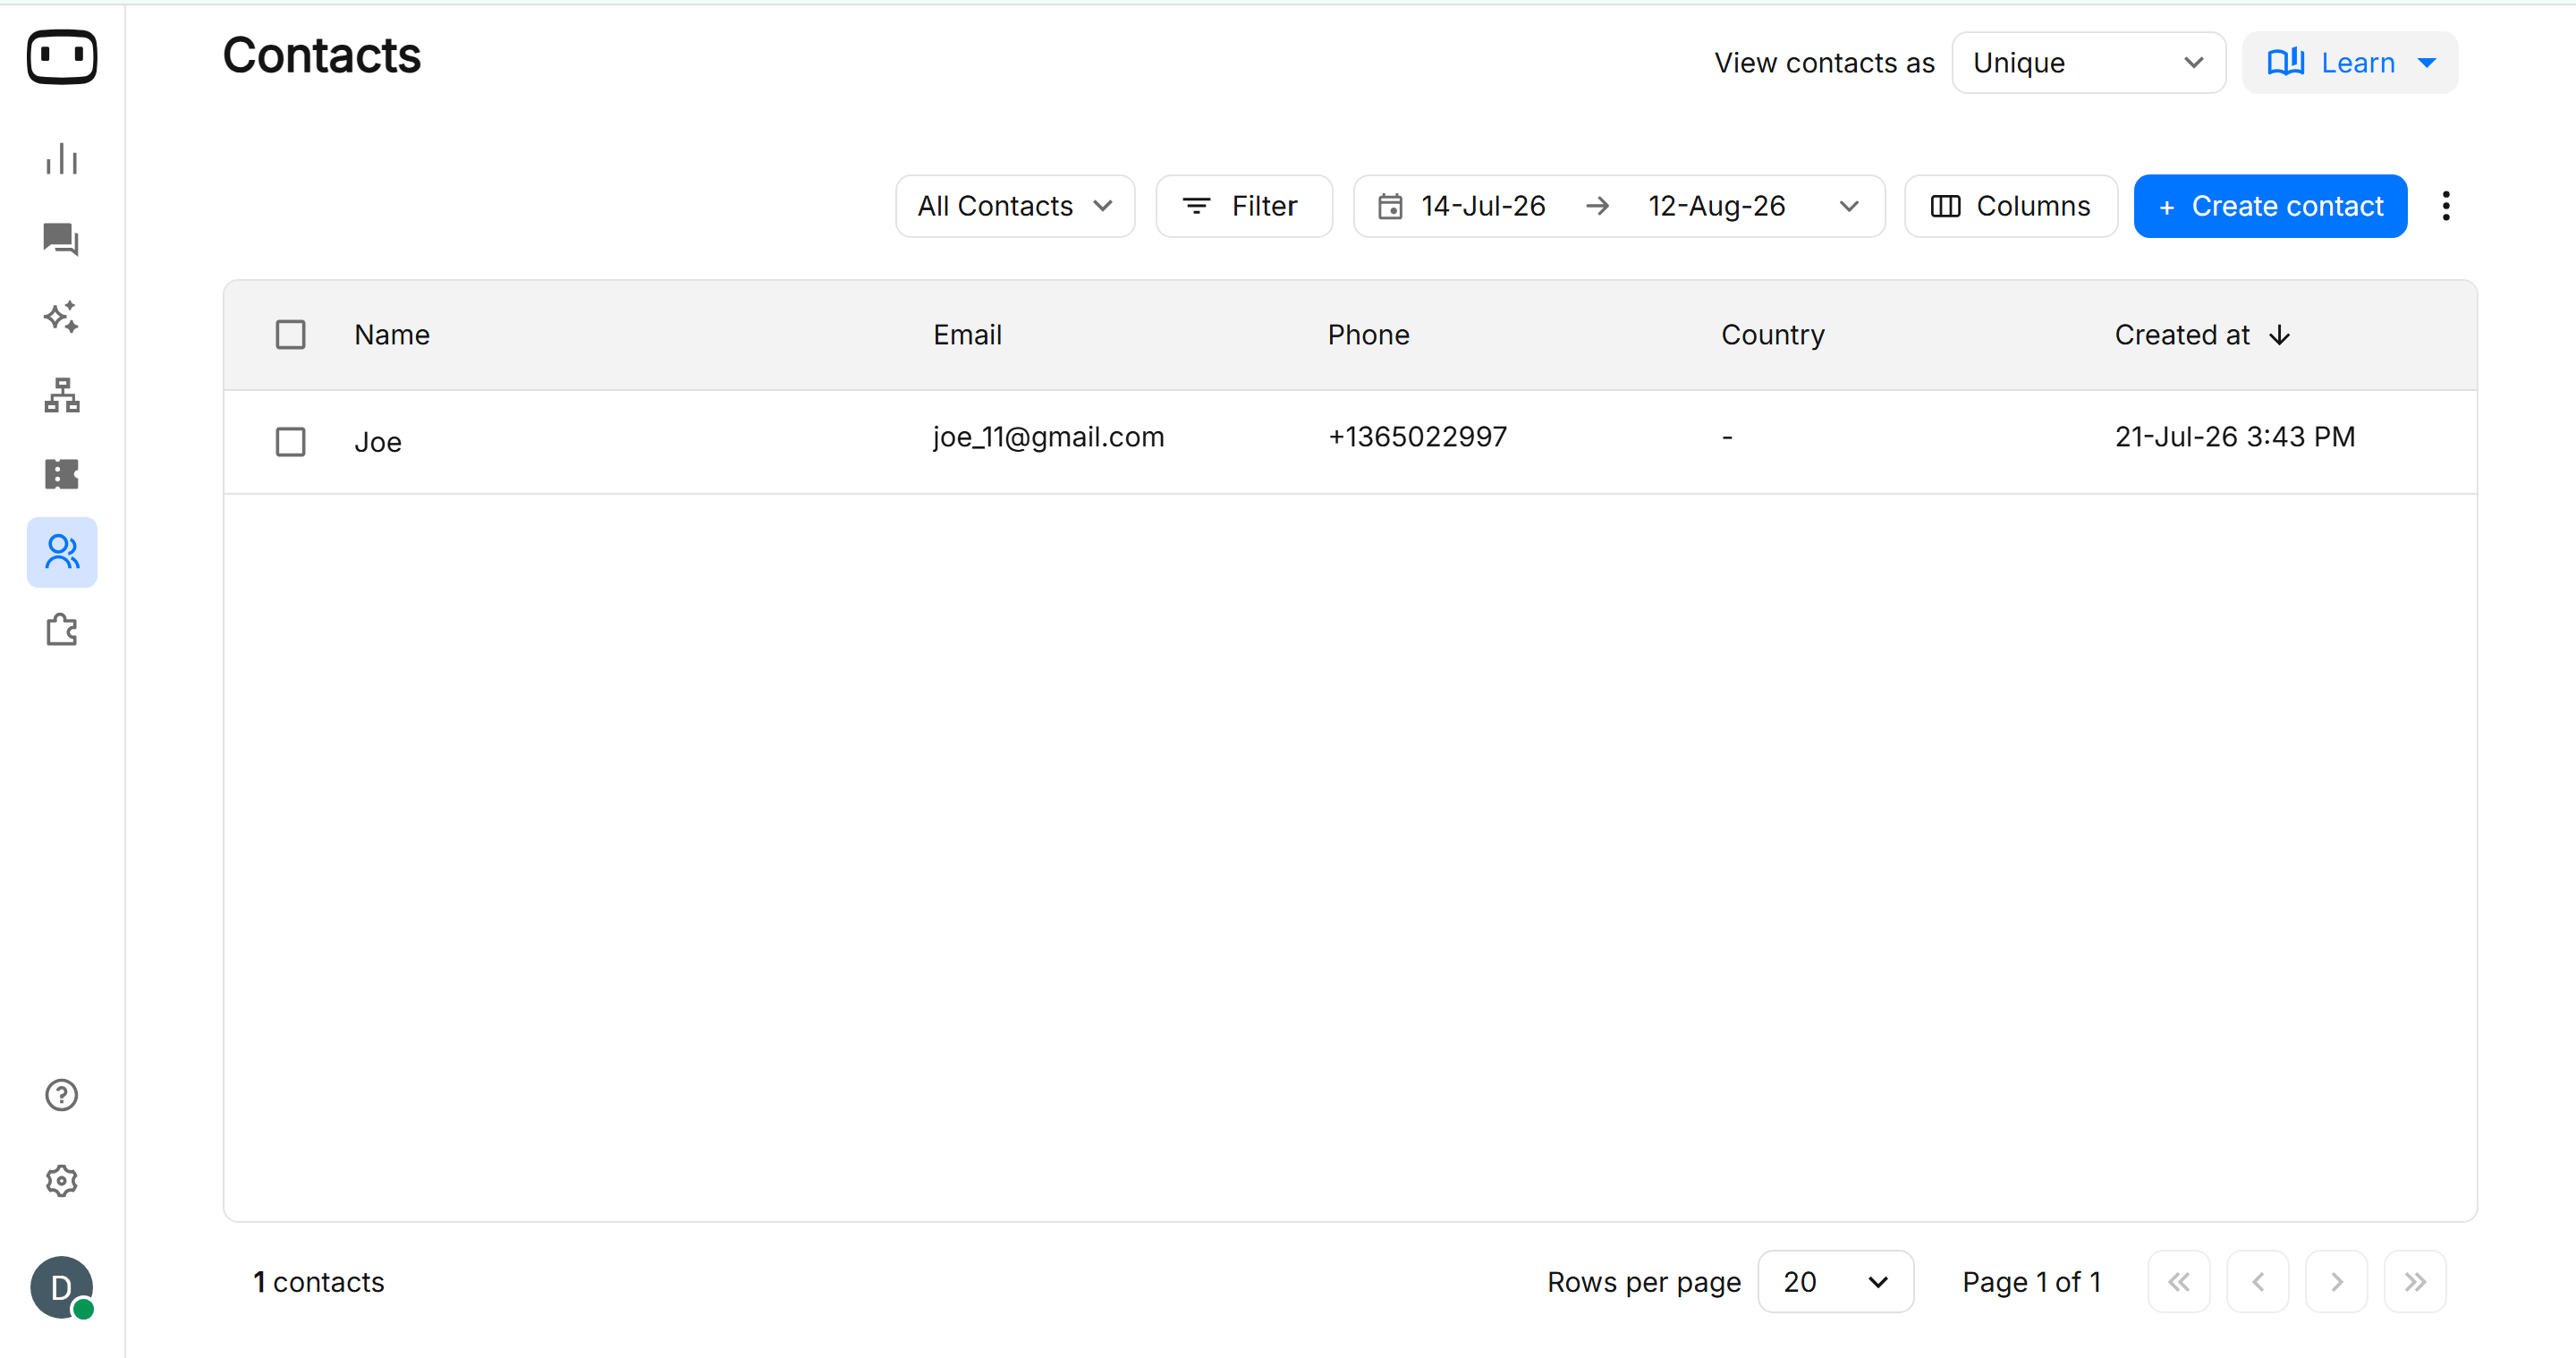
A contact list is a group of contacts organized for a specific purpose. Lists are particularly important for marketing campaigns, because a list determines the audience that receives a campaign.Creating a contact list
- Click Contacts from the navbar
- Click ‘All Contacts’
- Select Create List.
- Enter a name for the list.
- Add a description if required.
- Save the list.
Adding contacts to a list (Individually)
- Open the required contact list.
- Search for the contact you want to add.
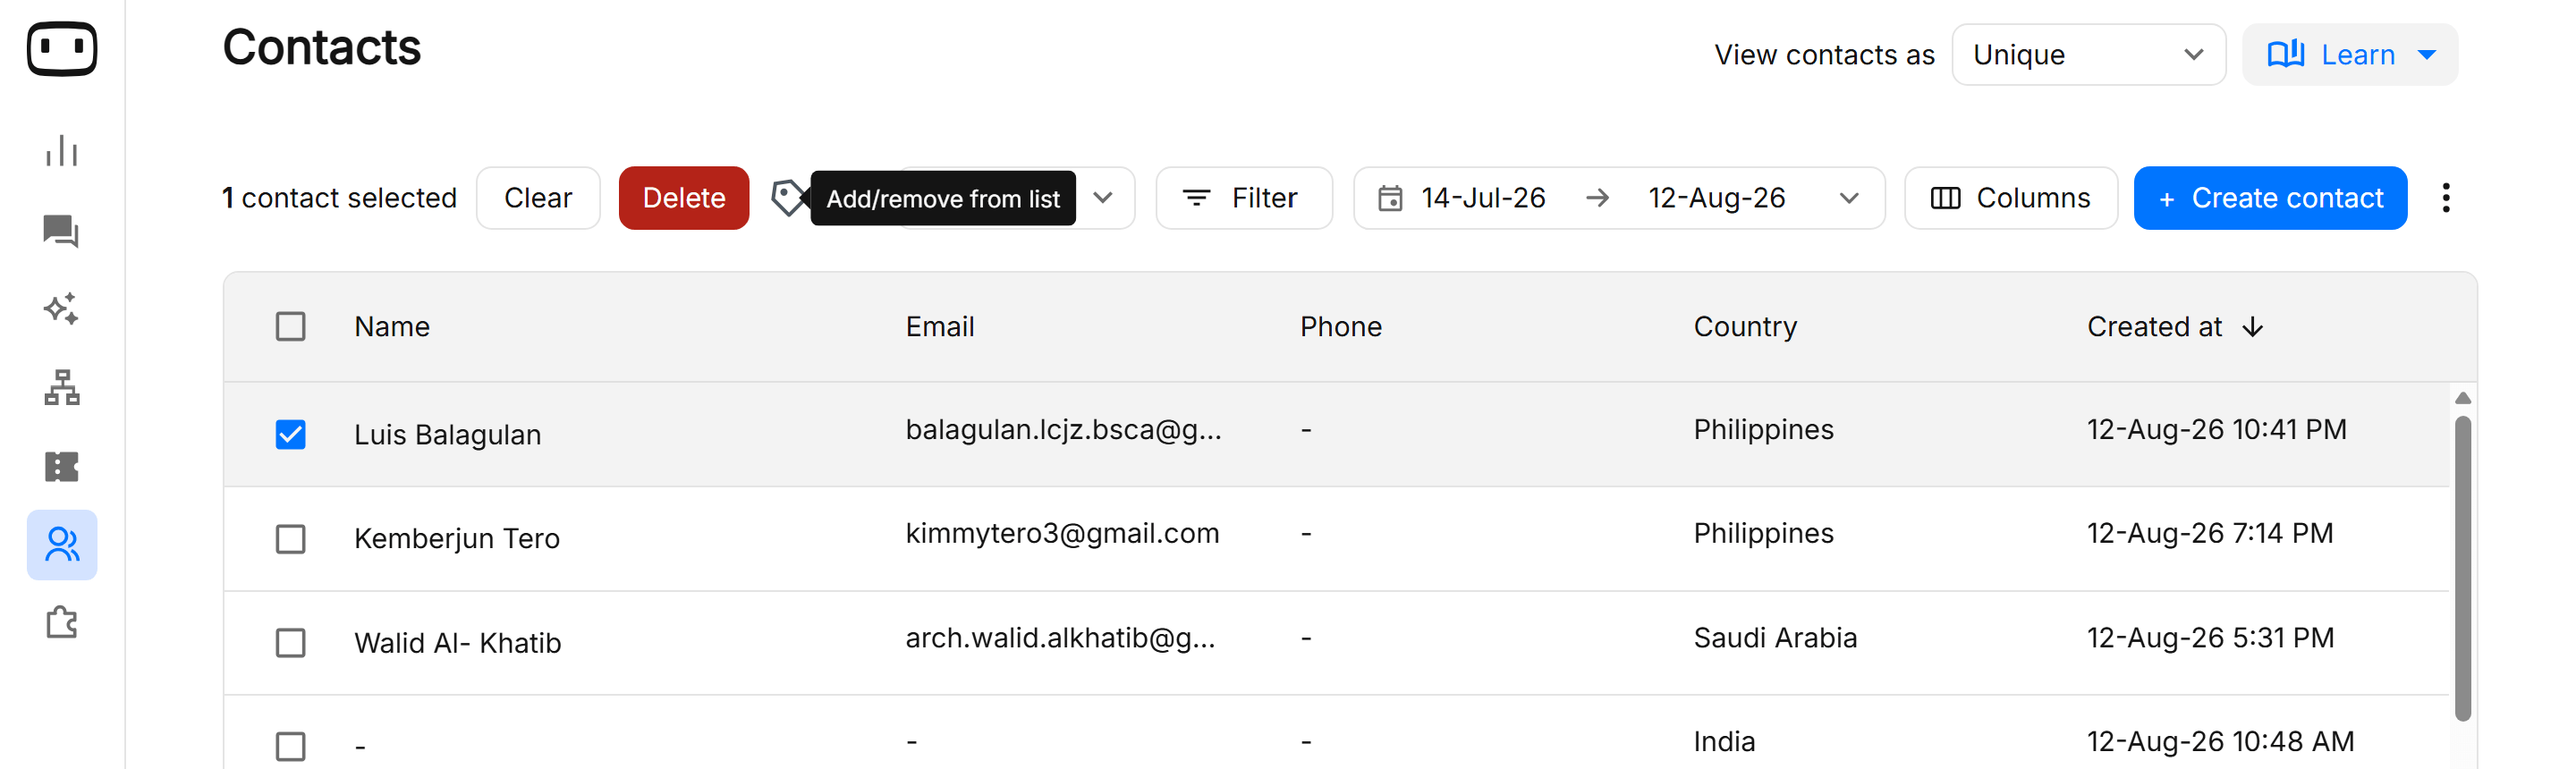
- Select the contact in checkbox
- Click on add into list
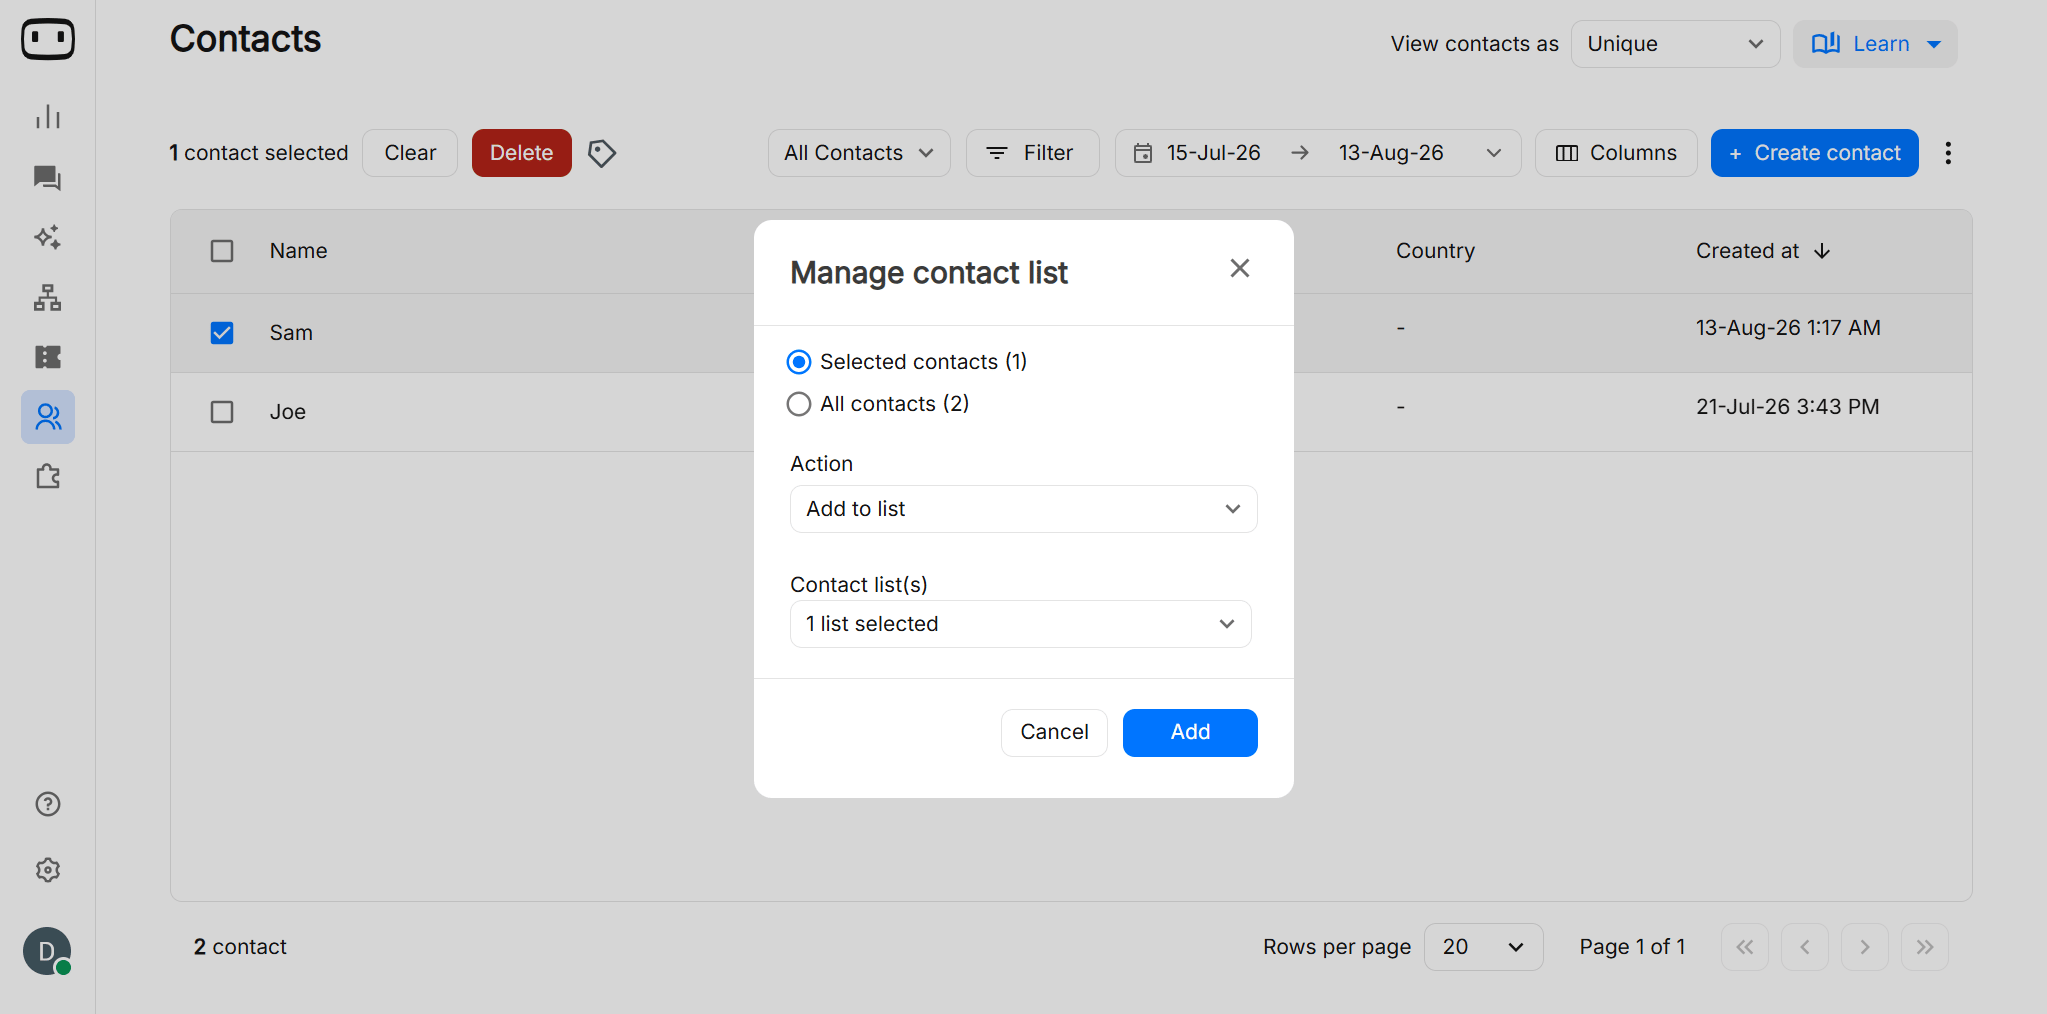
- Select your list
- Click on Add
Adding contacts to the list (Bulk)
- Open the required contact list.
- Select contacts you want to add in bulk.
- Select the checkbox for the contacts.
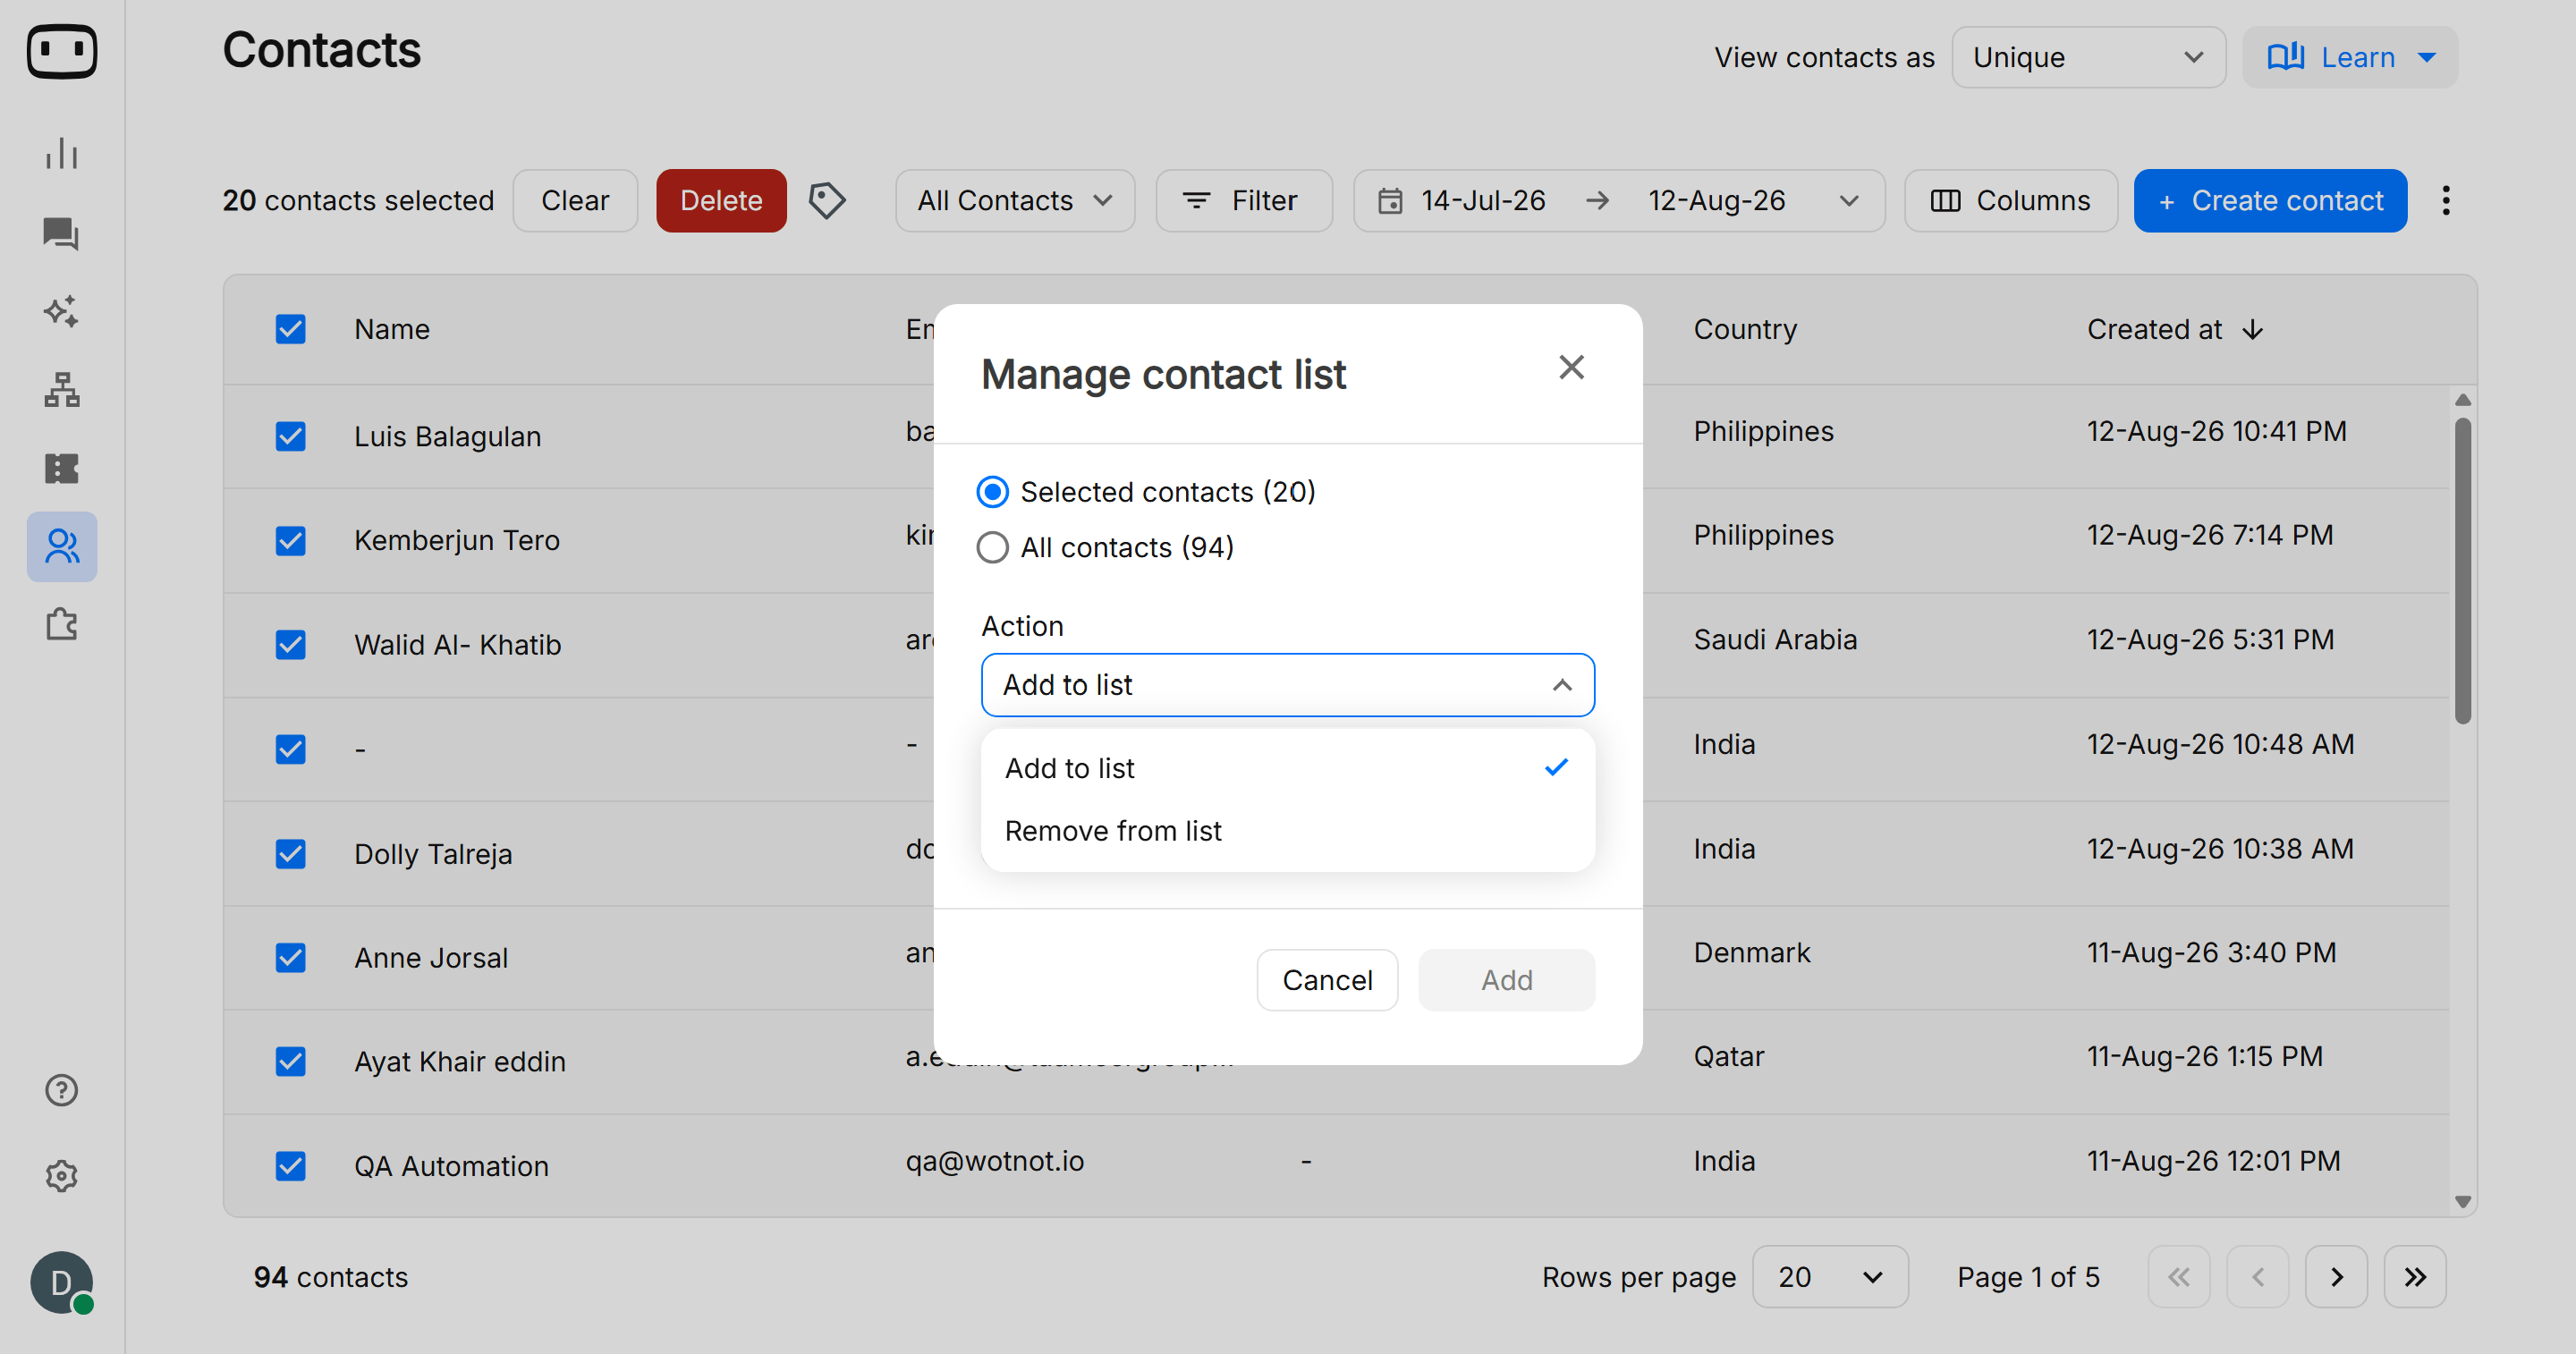
- Click on to add to the list
- Select your list
- Click on Add
Removing contacts from a list
Removing a contact from a list does not delete the contact from WotNot. It only removes the contact from that particular audience.- Open the contact list.
- Select the contact(s) you want to remove.
- Click on remove from list icon
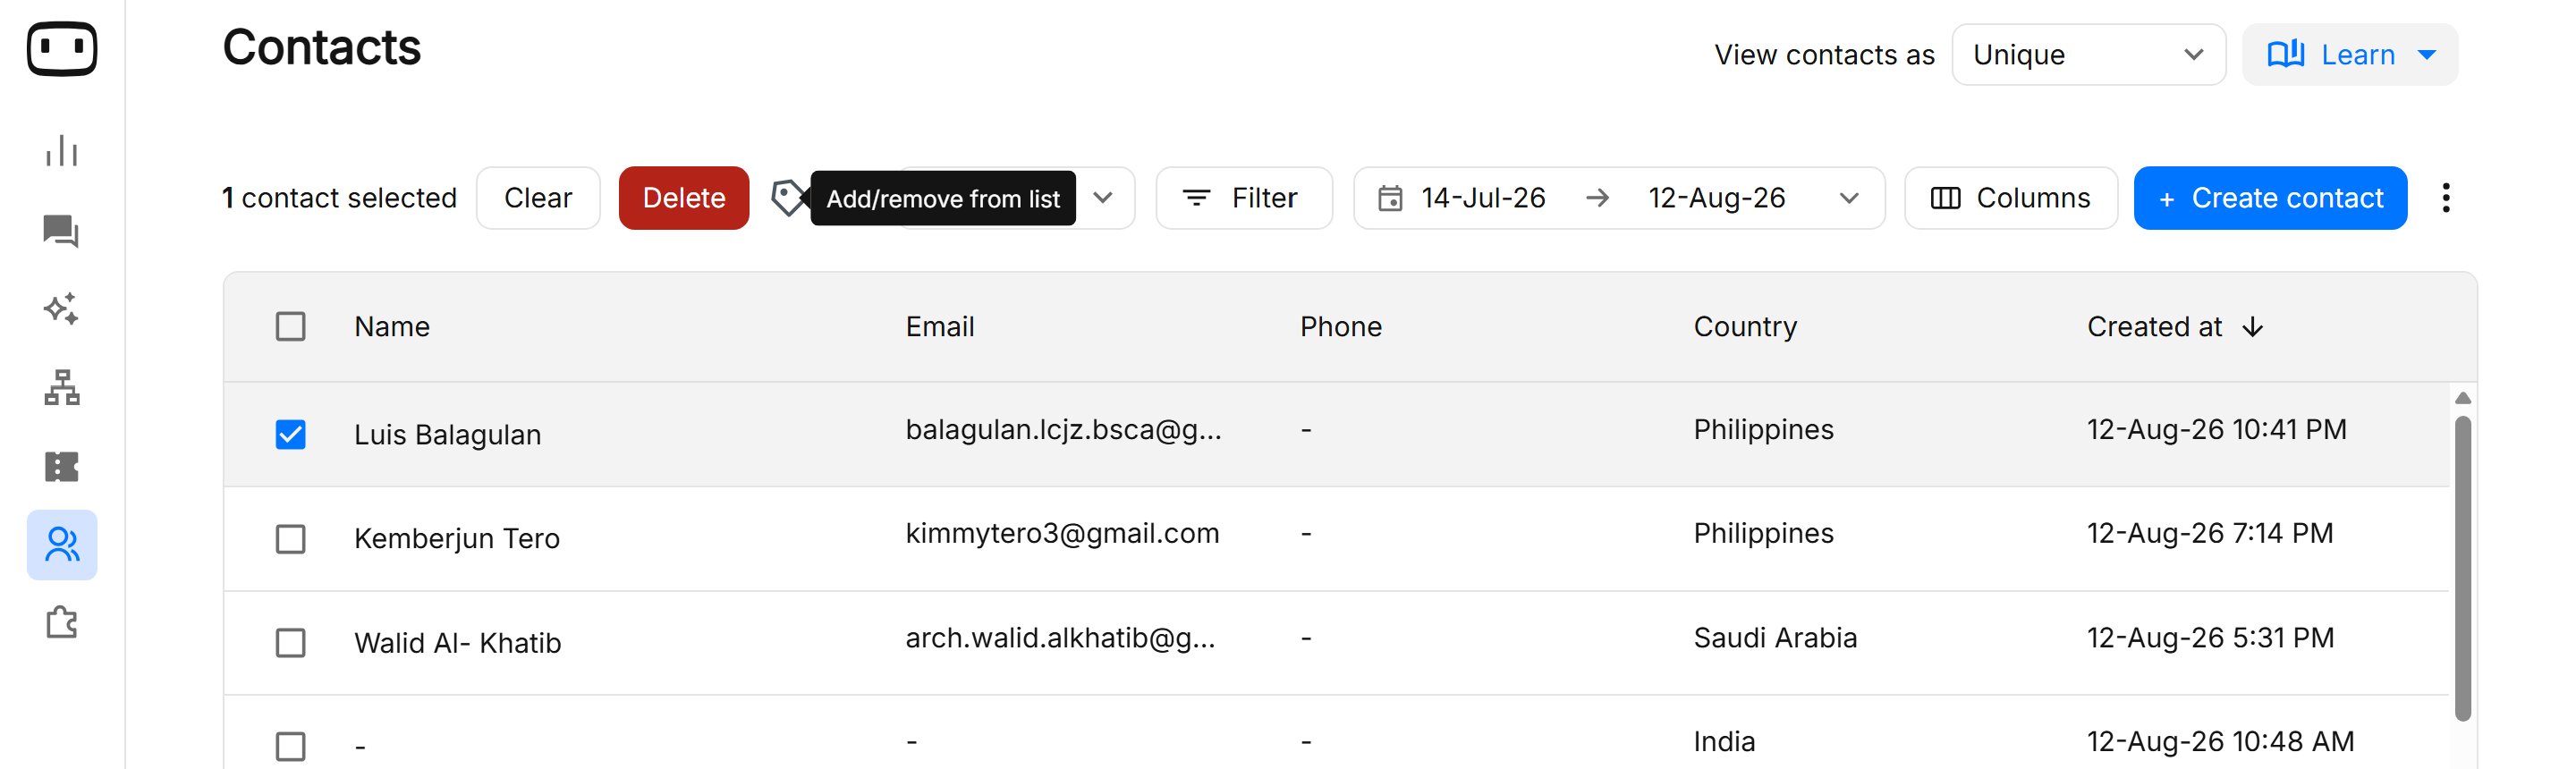
- select Remove from List from dropdown.
- Select your list
- Click on Remove
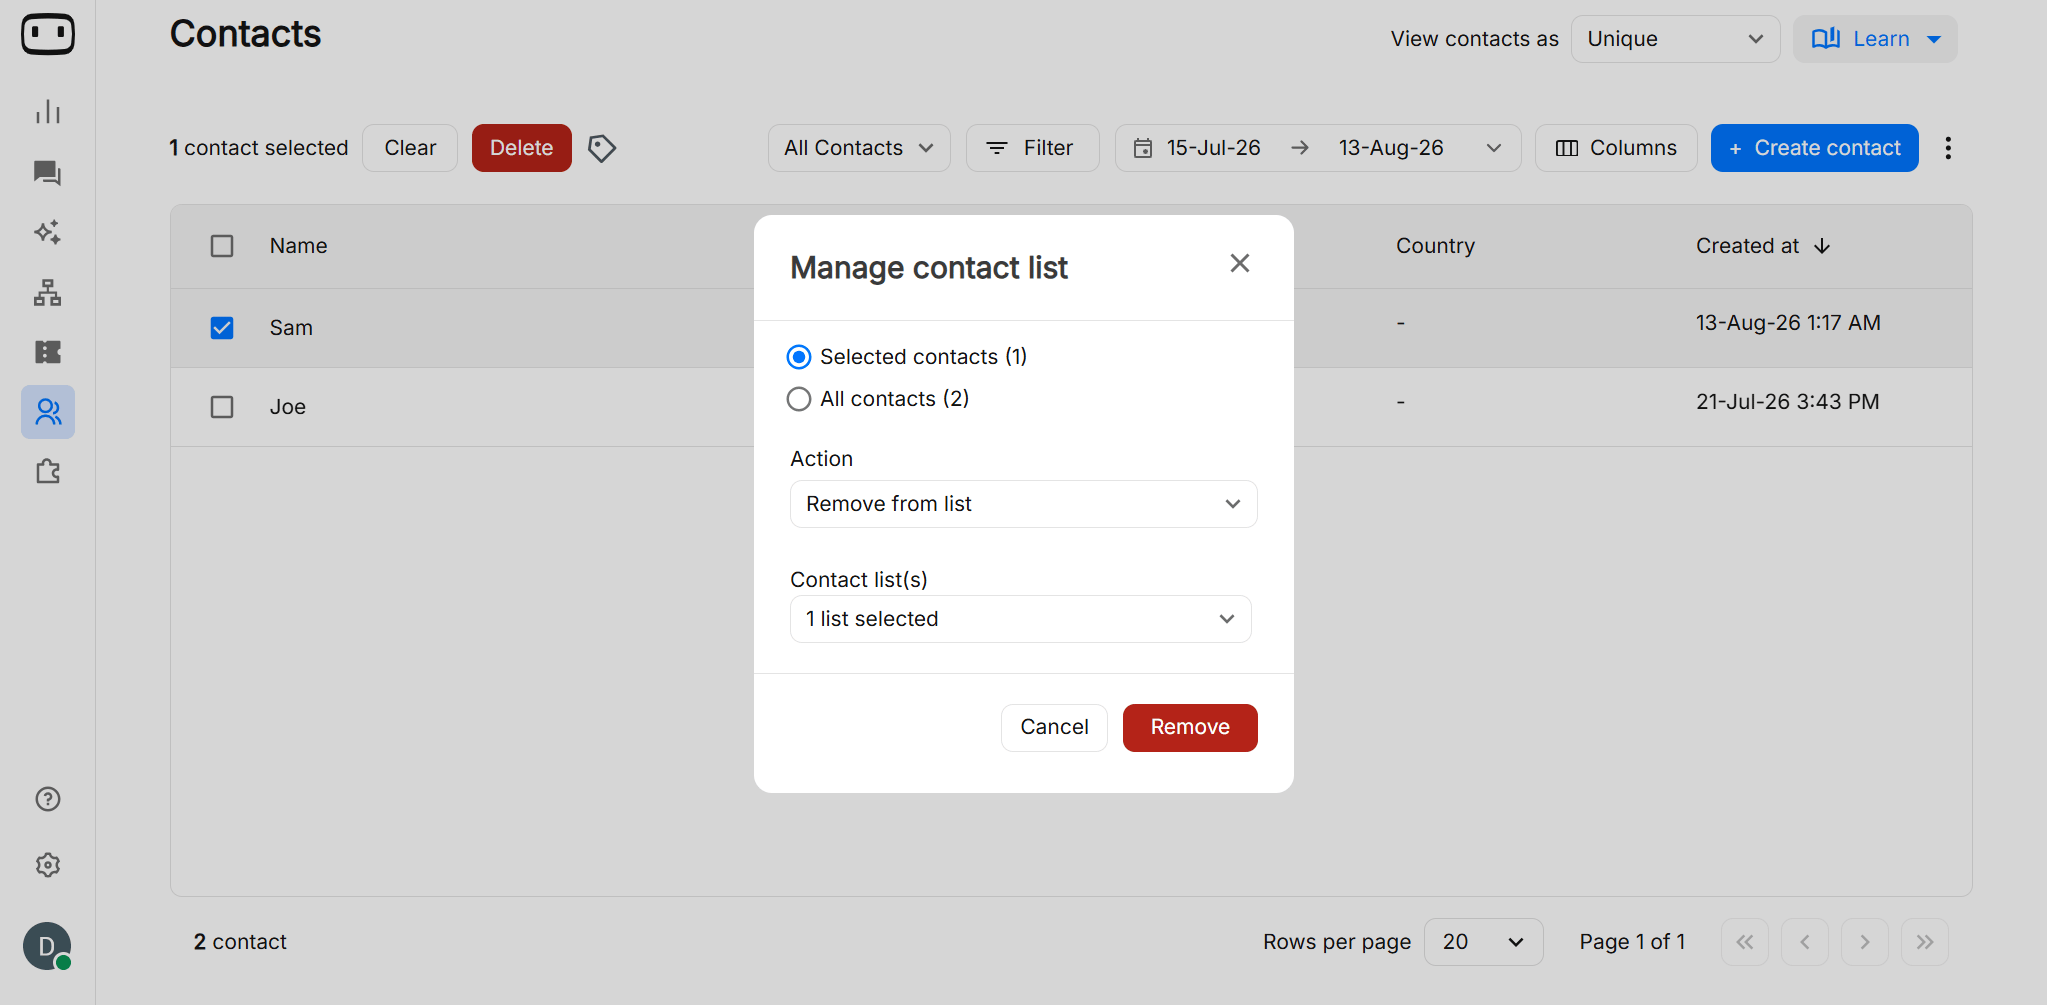
A contact can belong to multiple lists. Removing a contact from one list does not remove them from other lists.
Exporting Contacts
With WotNot, you have the ability to export the contacts through the ‘Contacts’ tab and download it in the CSV format. You can either download or export only the unique contacts or all the conversations occurrences of that contact just by turning on or off the switch ‘Show Unique Contacts’.- One-time export
- Scheduled recurring export
Use a one-time export when you need a snapshot of your contacts at a specific point in time.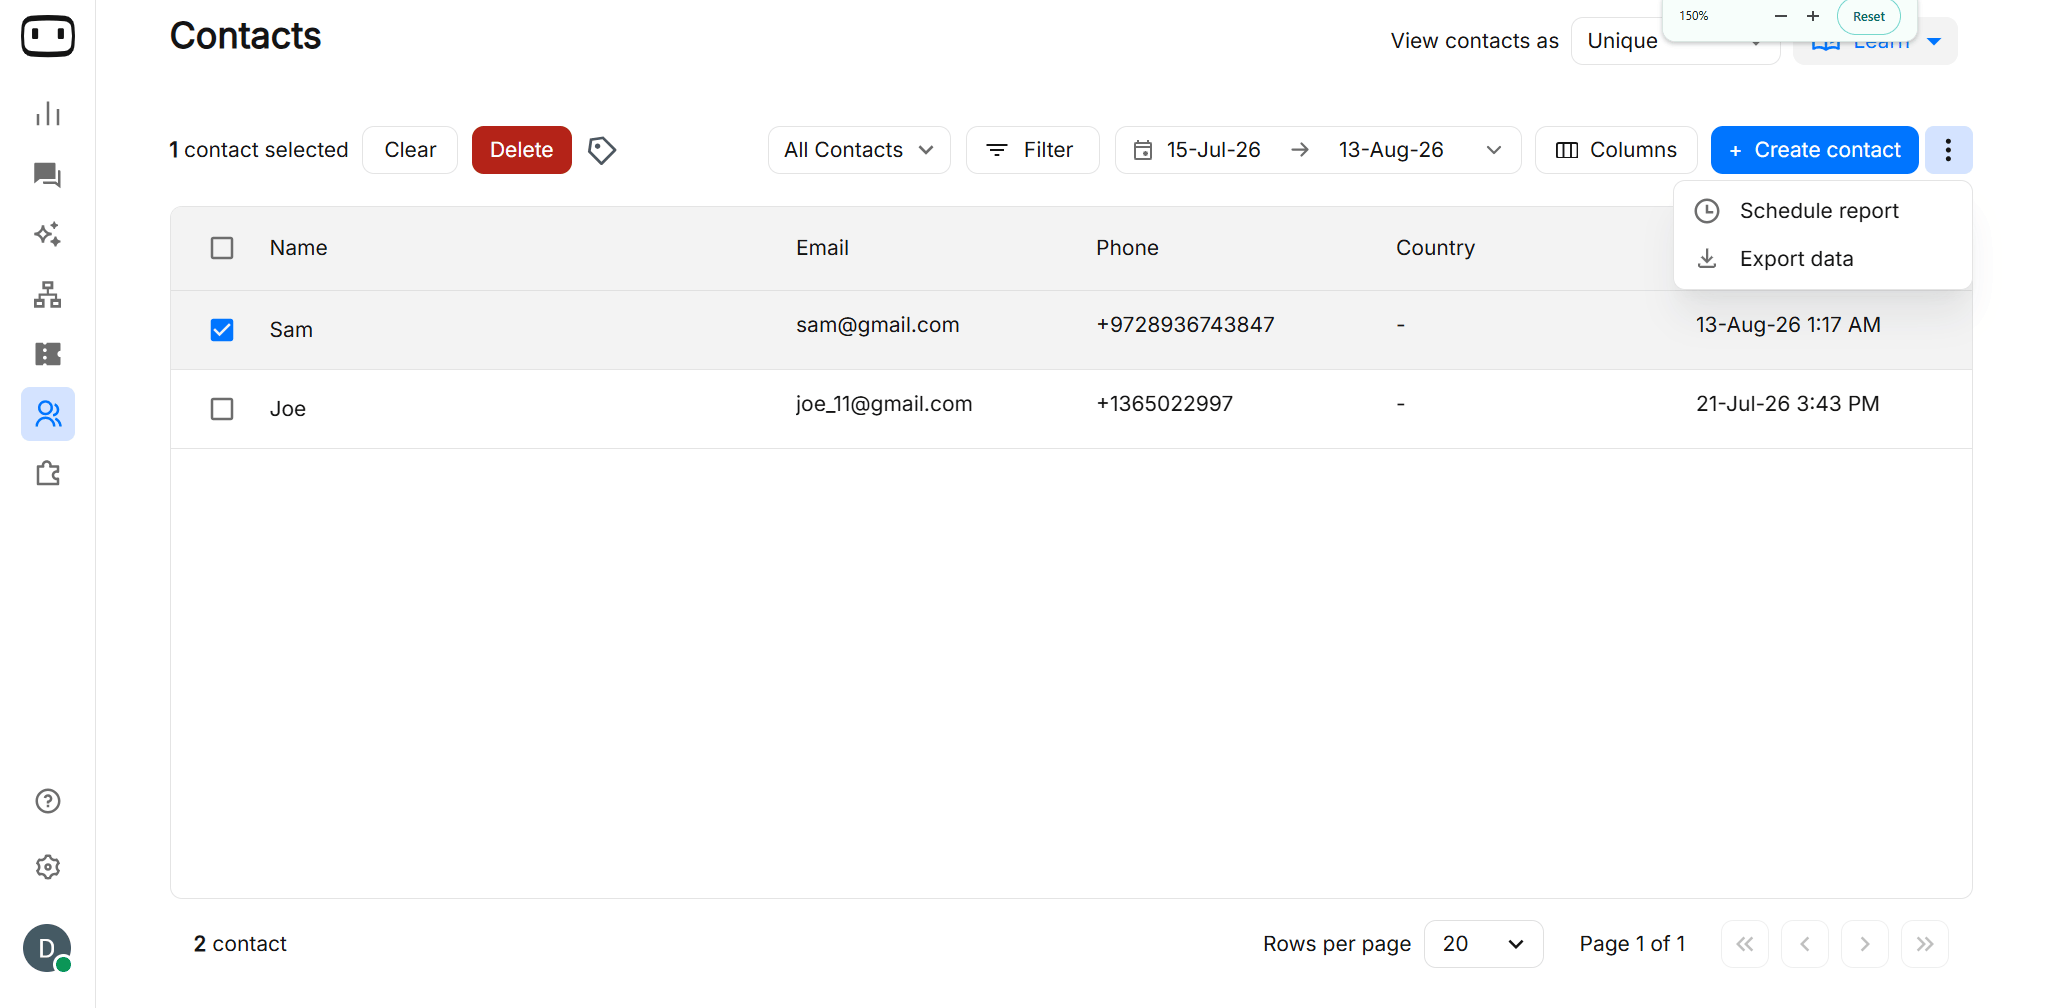

- Open Contacts from Dashboard
- Select the contact(s) you want to export
- Go to the menu bar (Three dots) and click on Export data

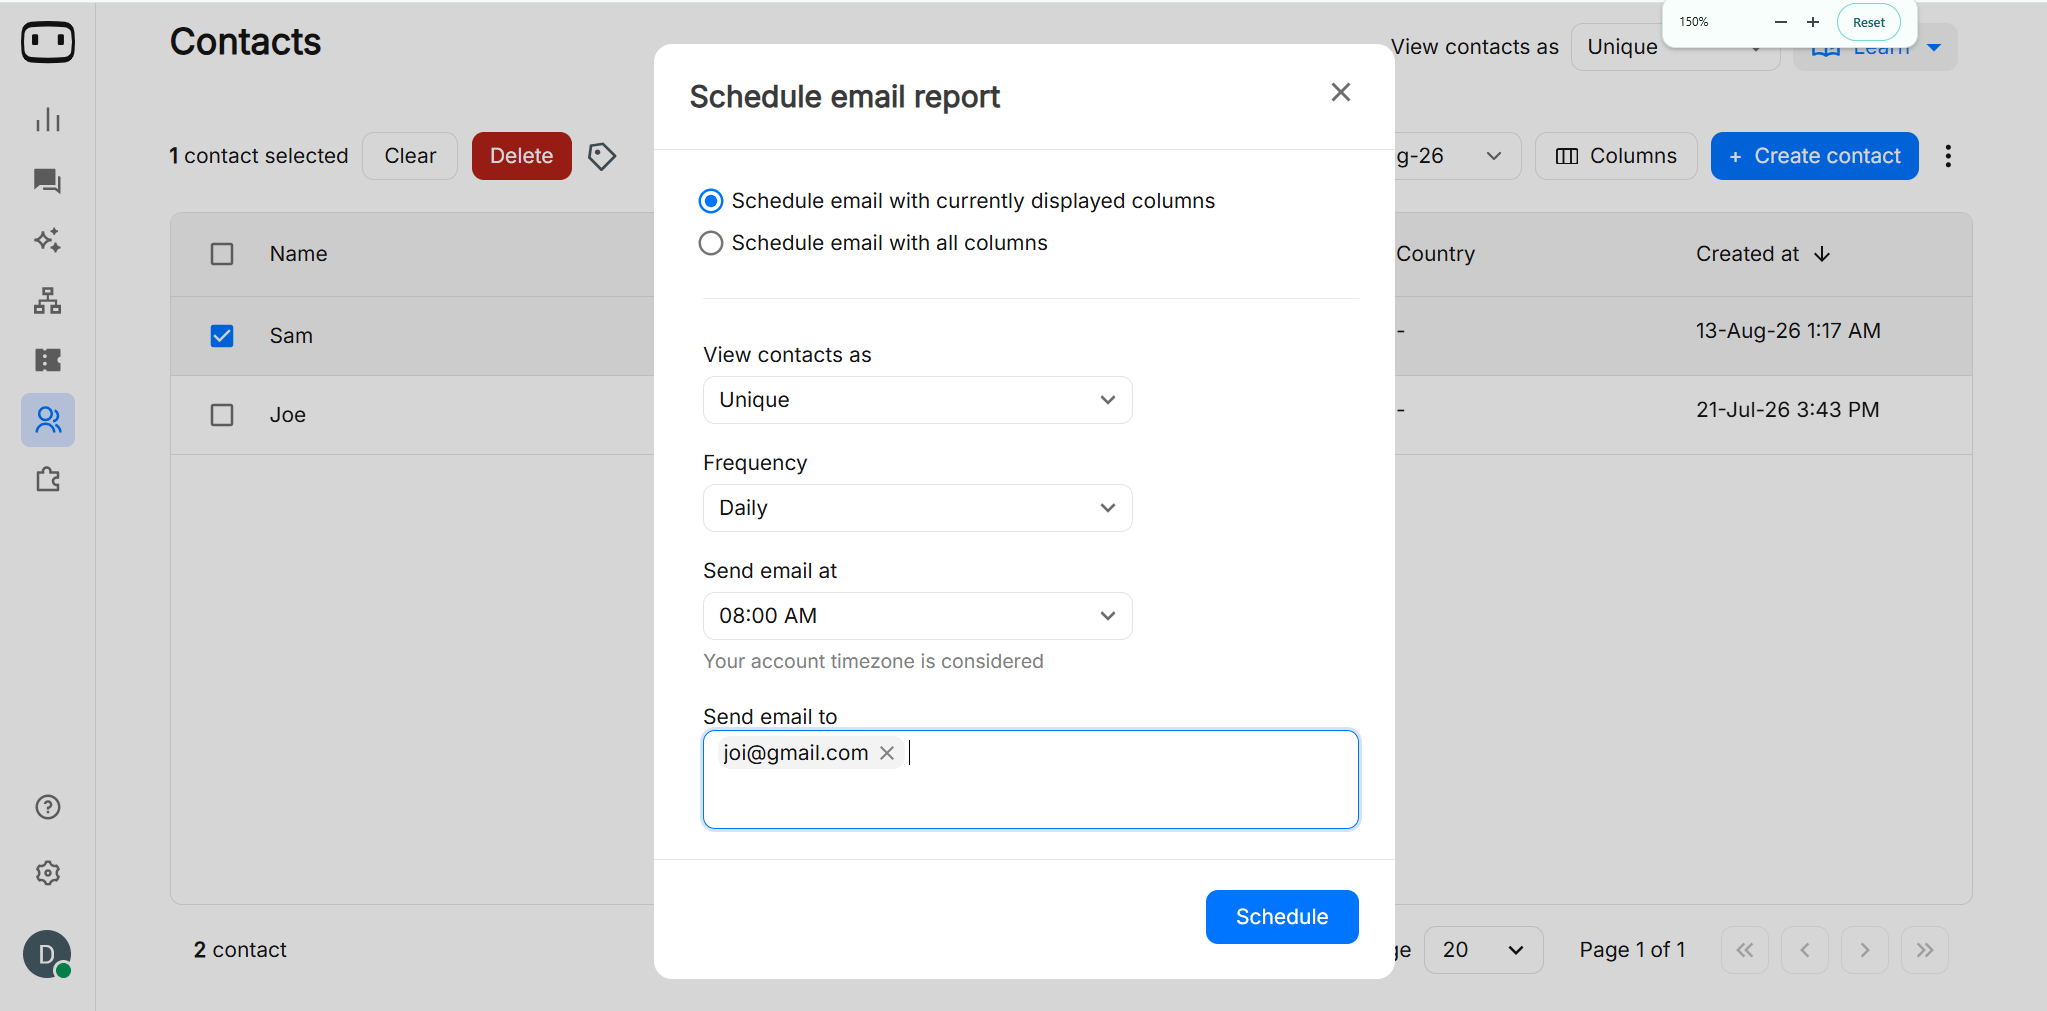
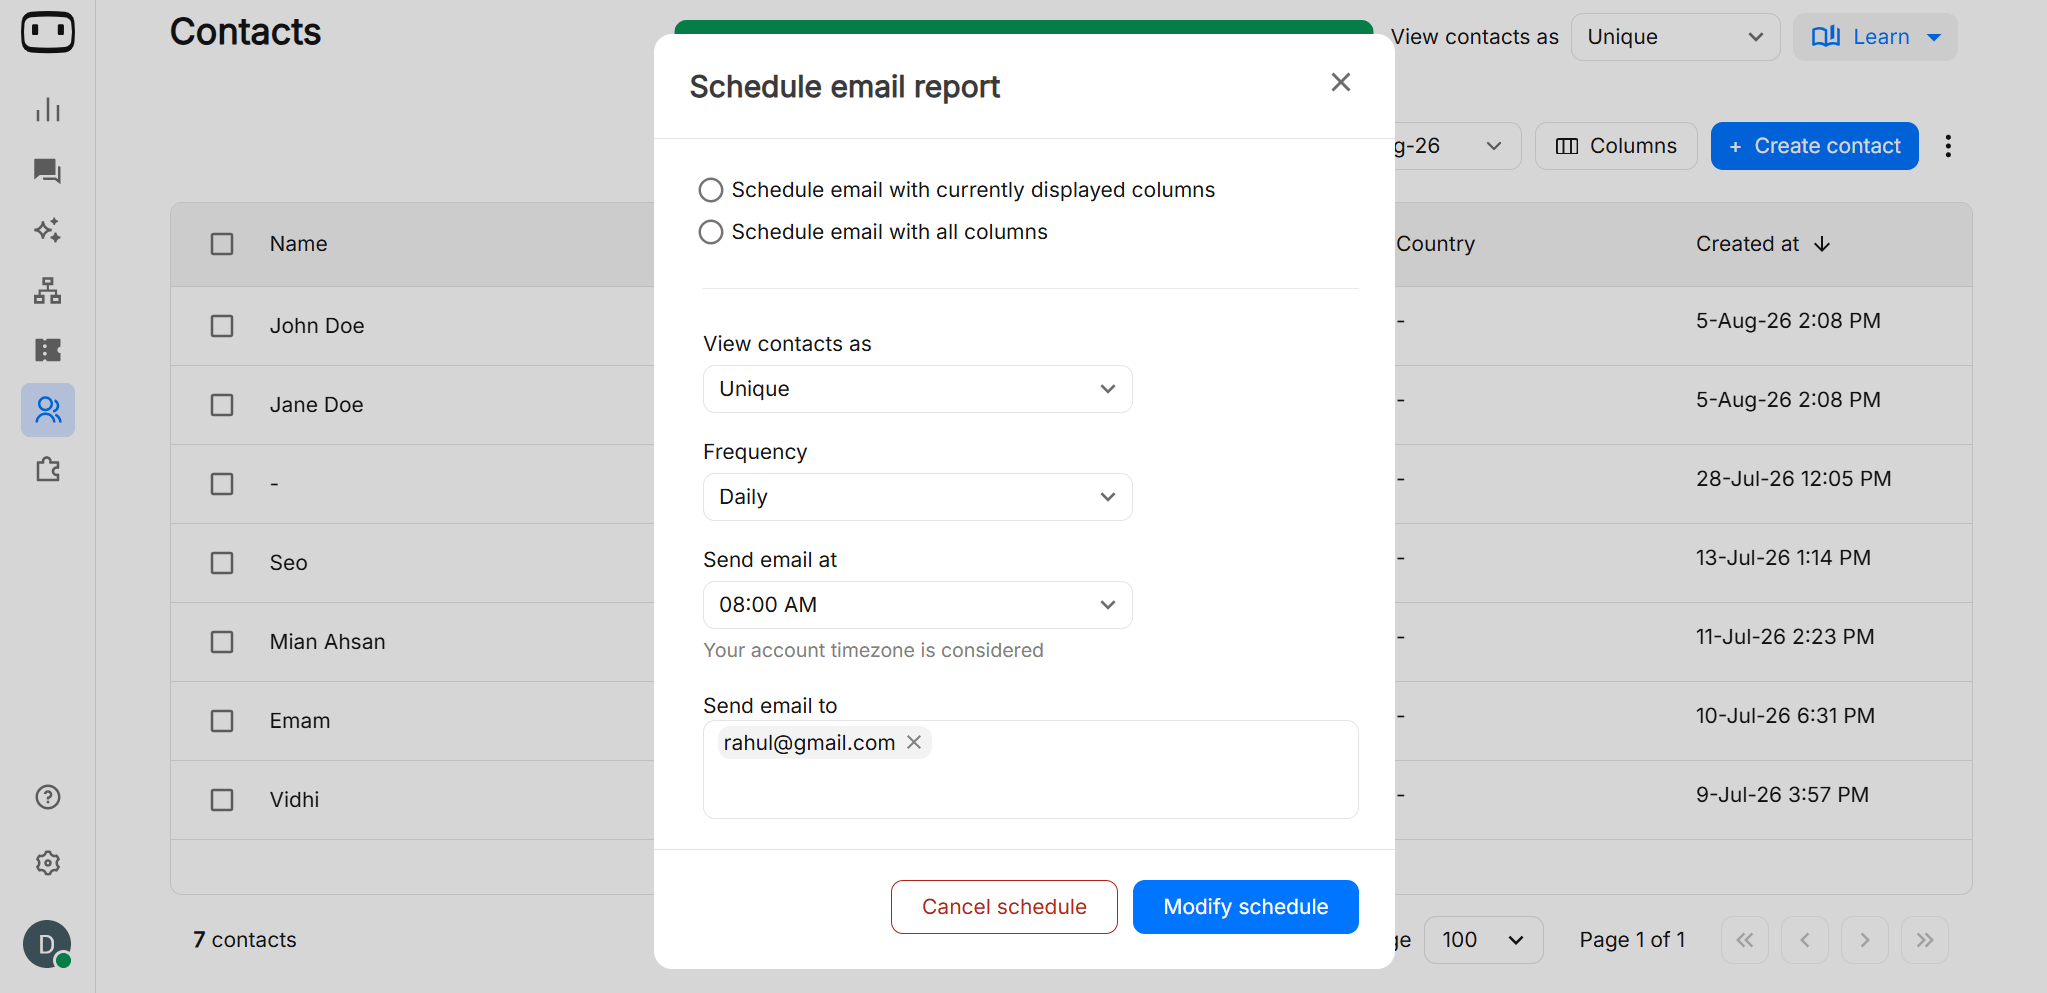
Blocking Contacts
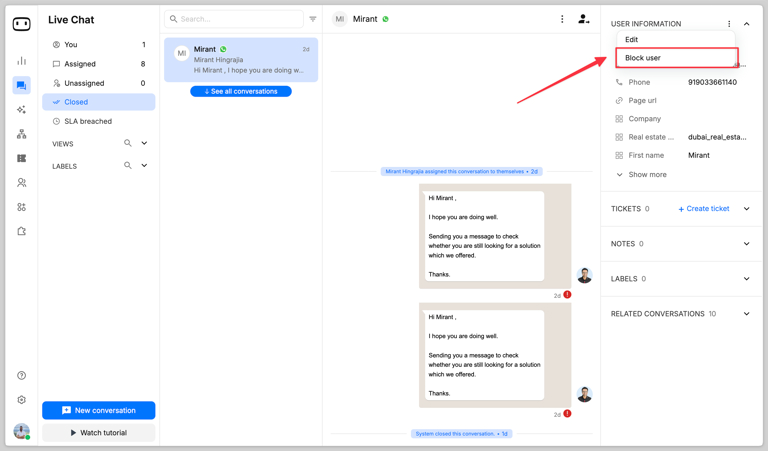
For WhatsApp and SMS channels, we’re now letting you block contacts, so that they do not spam your chatbot unnecessarily.How to Block a contact
- Open ‘Live chat’
- Find a chat of the contact that you want to block
- On the ‘Contact information’ panel, choose ‘Block
Once blocked, the contact WILL NOT be able to start a new chat, receive outbound messages.

How to Unblock a contact
- Open ‘Live chat’
- Find a chat of the contact that you want to block
- On the ‘Contact information’ panel, choose ‘Unblock’

Deleting Contacts
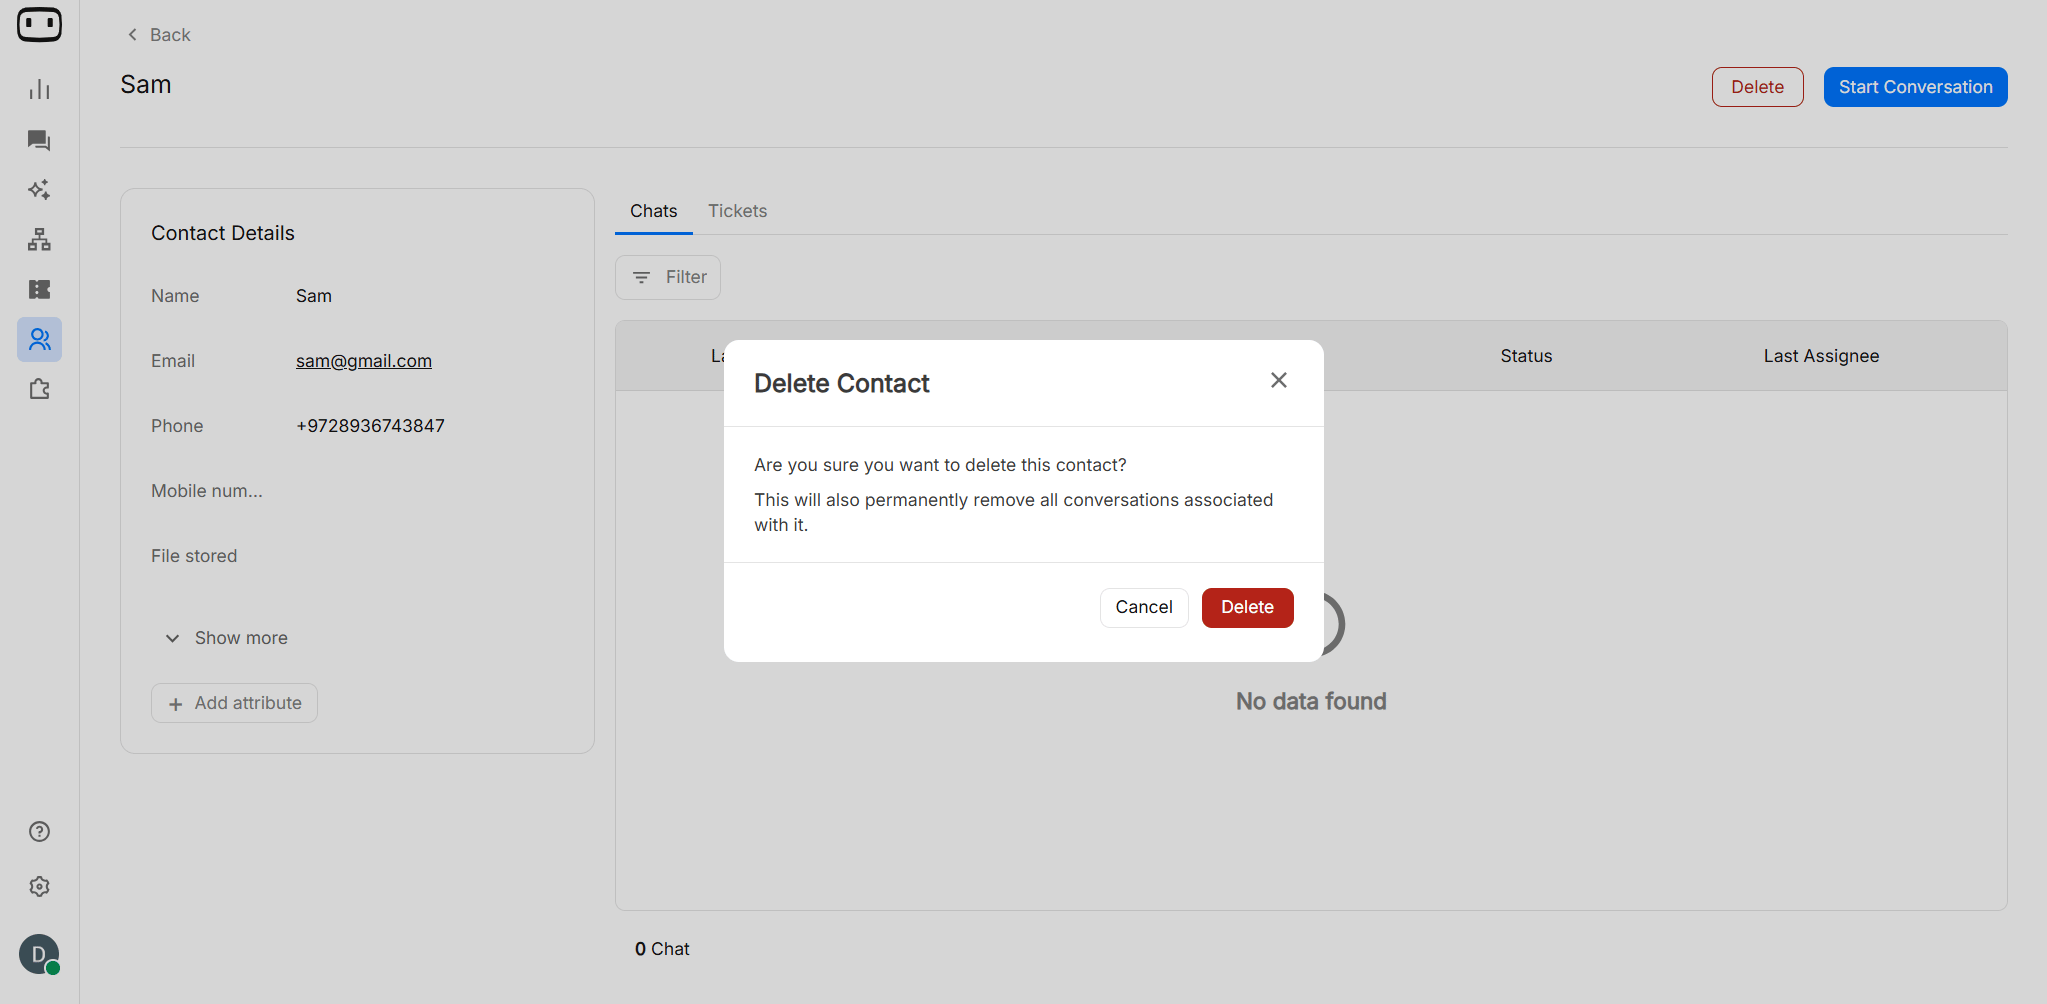
You can delete contacts from the contacts page by visiting the Contacts page.Deleting a contact will delete its related conversations, variables and values.
- Multi-select and delete in bulk

- Or, open a individual contact and delete it.

Once you delete the contact, the action cannot be undone.
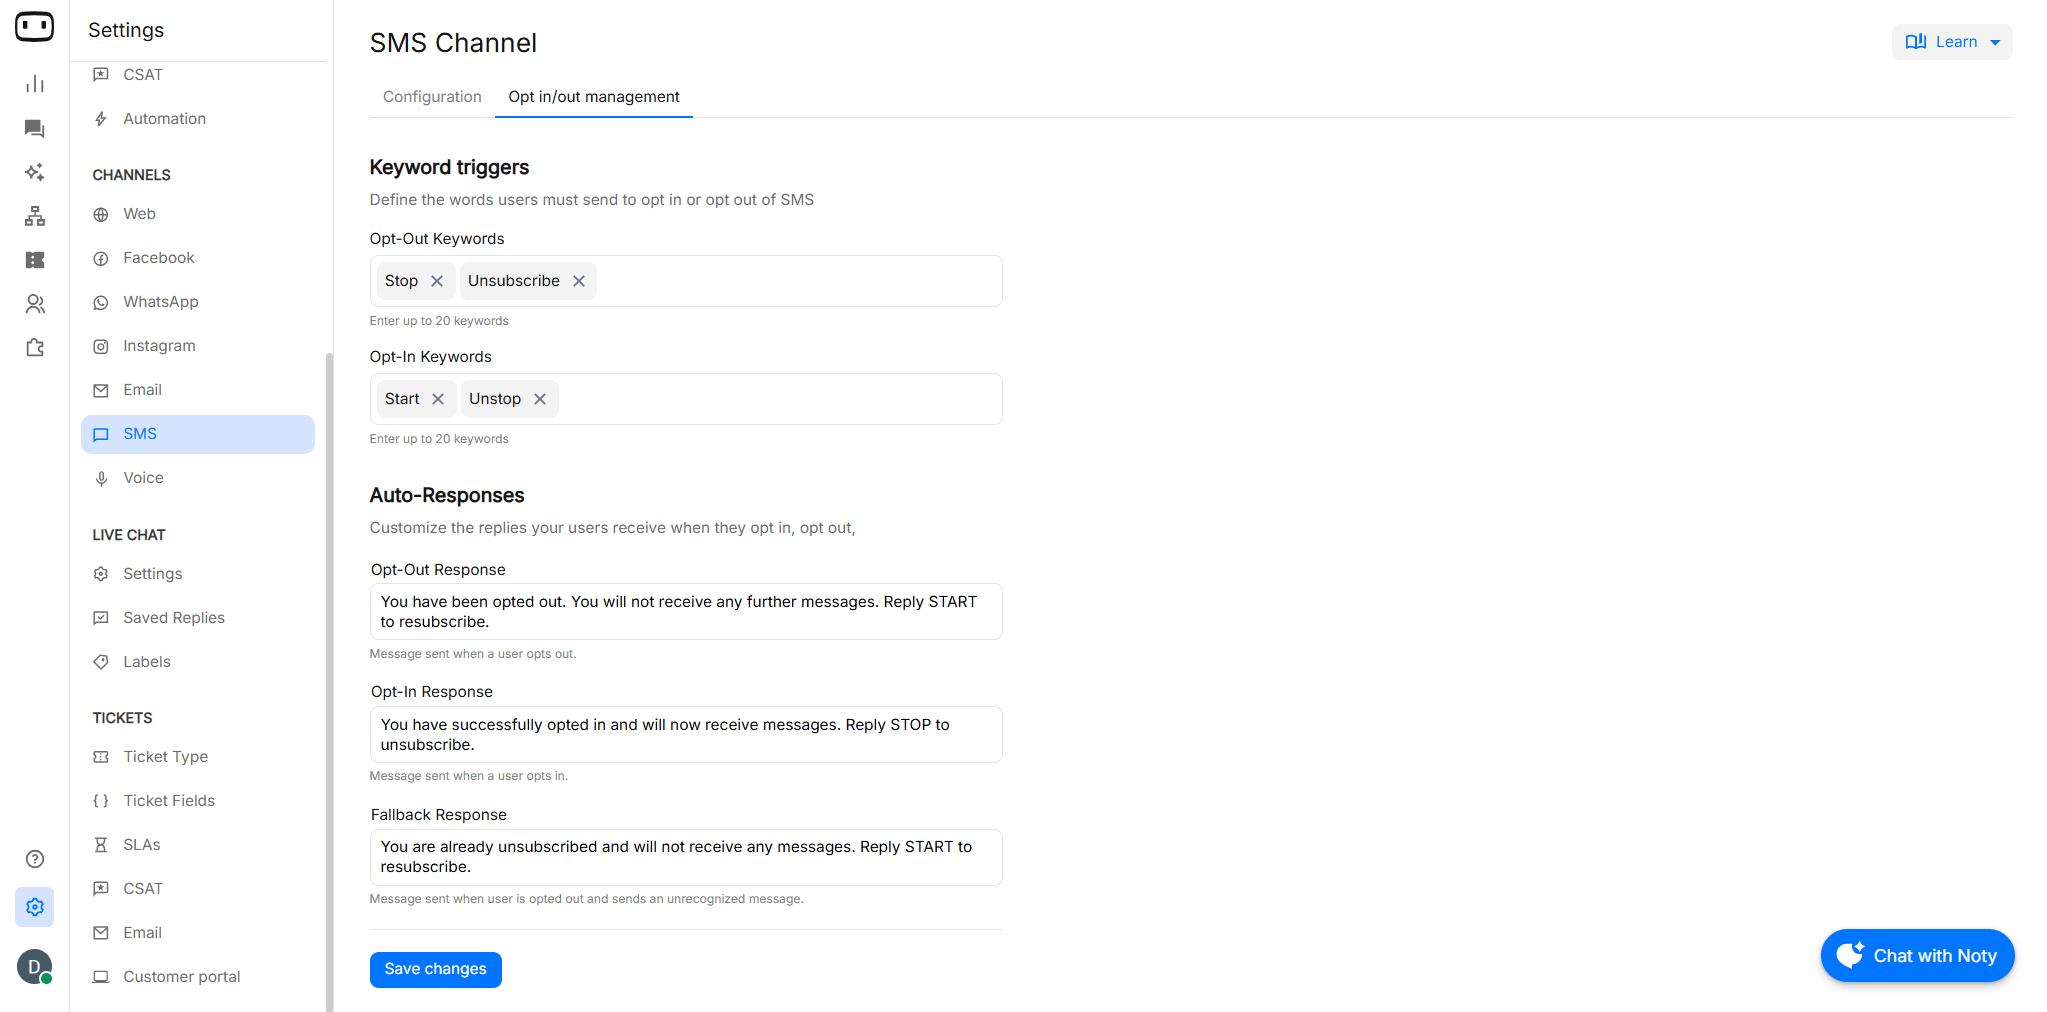
Opt-out status
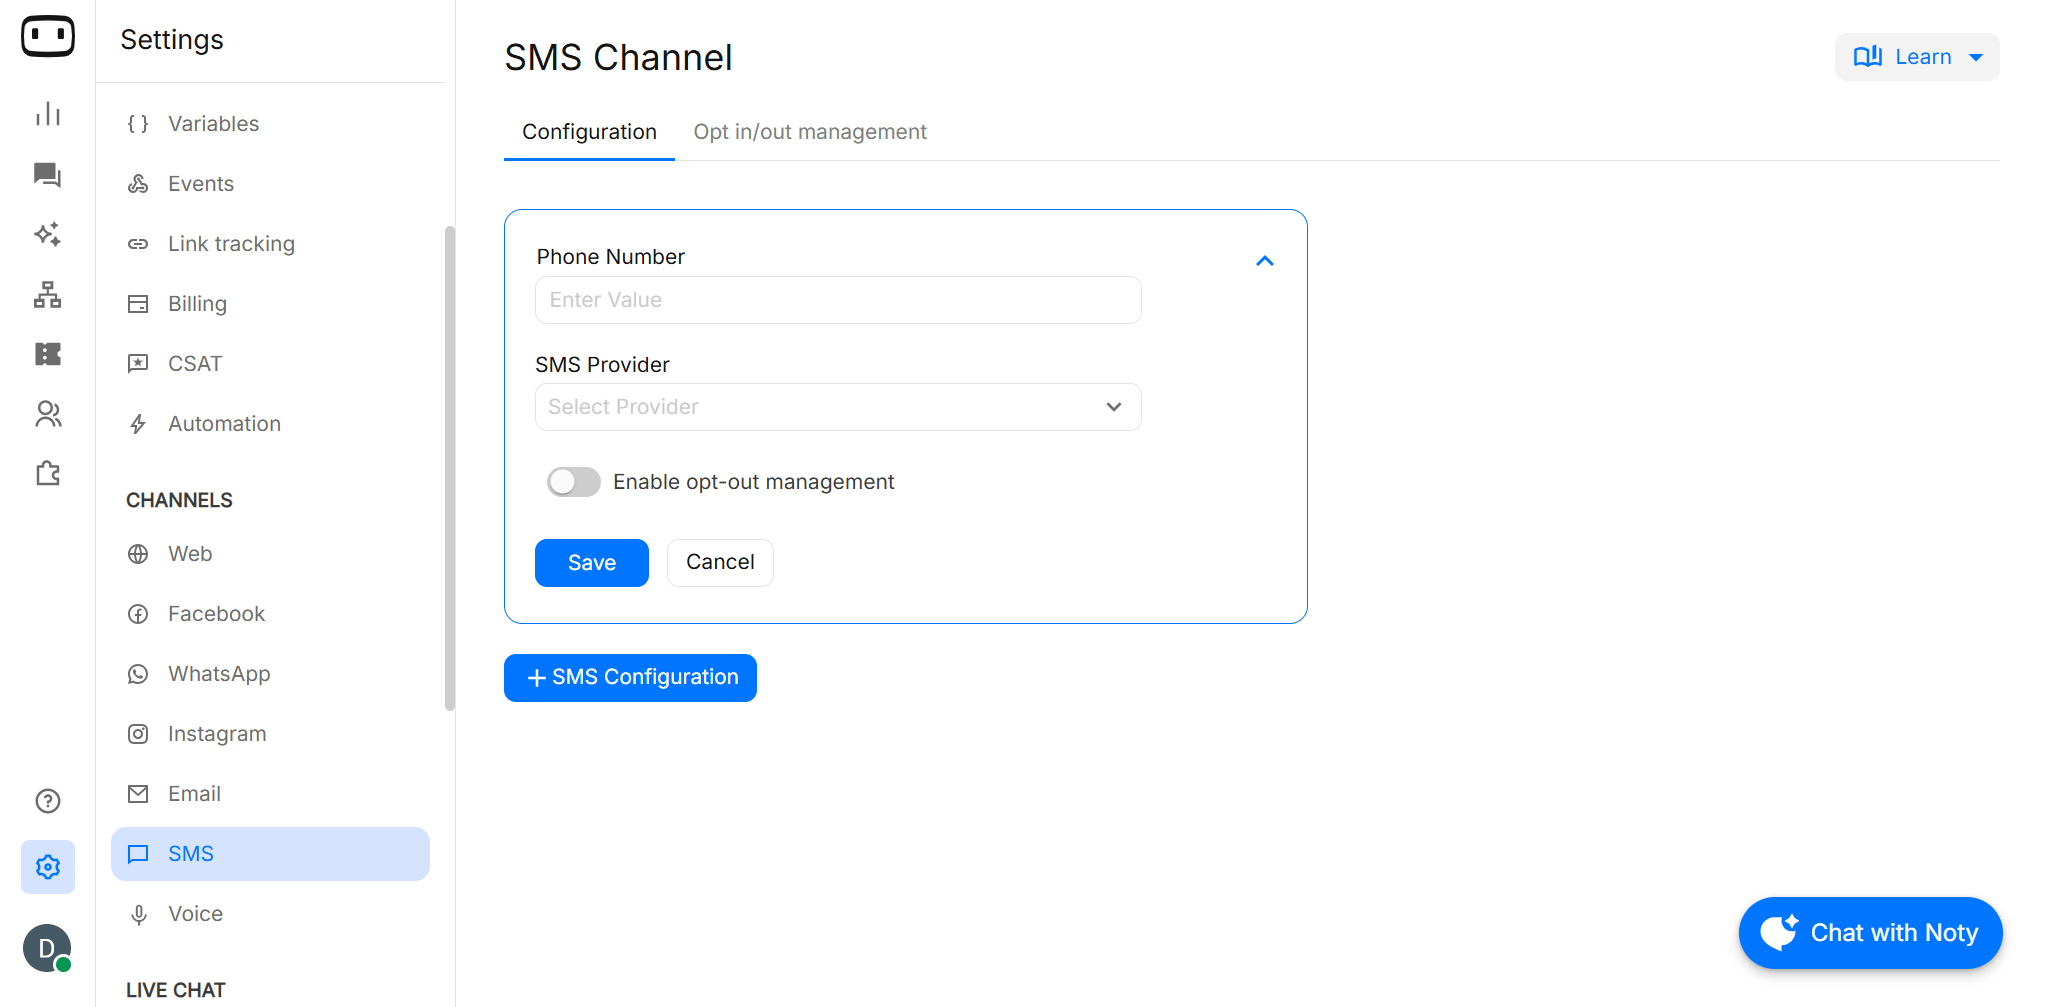
Available only for the SMS channel
- Go to Settings > Channel > SMS > Configuration
- Choose the number, and enable the configuration
- Go to Channels > SMS > Opt-out management
- Define the keywords for opting in/out.
- Define the default messages when opting in/out.